As you likely know already, when you get a new WordPress theme, it’ll come with a few fonts straight away. These are fonts that the developer chose that best fit with the design and layout of the theme. However, you can always switch these up if you want to. This is especially preferable if you’re already making changes to other aspects of the site’s design and functionality. That way, you can choose WordPress fonts that really best serve your site, your brand, and your target audience.
And let me tell you, there’s no shortage of fantastic fonts to choose from out there. But getting them actually installed in WordPress can be a bit of a challenge, especially if you’ve never done it before. That’s precisely what we’ll be discussing here today. But first, let’s pause briefly to talk about where to find fonts in the first place.

Select Your Fonts
If you want to use fonts outside the standard staples like Arial and Helvetica, you’ll need to install them into WordPress. And before that, you’ll need to source them. Though more resources exist, this is a quick list of the most popular sites where you can get fonts:
- Google Fonts. This free resource offers up nearly a thousand font families to choose from.
- Adobe Fonts. Formerly called Typekit, the thousands of fonts listed here are all included in a Creative Cloud subscription.
- Font Squirrel. Here’s another great resource filled with free fonts. These have been collected from other websites.
- Fonts.com. A tried and true standard in font offerings. You can find free and premium options here.
Use a Plugin to Load Google or Adobe Fonts in WordPress
Now, let’s get to the part of this article you came here for: the tutorial. Your first option for loading Google Fonts or Adobe fonts in WordPress is through the use of a plugin. This will likely be the quickest and easiest option for most website owners, which is why we’re featuring it first.
Custom Fonts

Custom Fonts is a WordPress plugin that makes it easy to add custom font files to WordPress. It supports .woff, .woff2, .ttf, .svg, .otf, and .eot formats. And it’s easy to set up. After install, just upload your chosen fonts and they will be automatically added to whichever page builder you use. This plugin works best with Beaver Builder, Elementor, and Astra.
Use Any Font

Another plugin option is Use Any Font. The aptly named plugin requires no CSS to use and allows you to add custom fonts from any source to WordPress. You won’t be pulling from another server here, so your fonts will always be available to load every time.
Easy Google Fonts
Our third option here is Easy Google Fonts. As you might’ve guessed from its name, this plugin makes it easy to install Google Fonts into WordPress. It integrates with the built-in WordPress customizer, so once installed, your fonts will be automatically accessible from within this editing tool, in real-time.
Add Google Fonts to WordPress Manually
If the plugin route won’t suit your needs or if you just need more specific control over where your fonts will appear, you can add them manually into WordPress.
To begin, you’ll need to go to Google Fonts and make a selection. Once you’ve picked out a font type/family, click through to that specific font’s page.
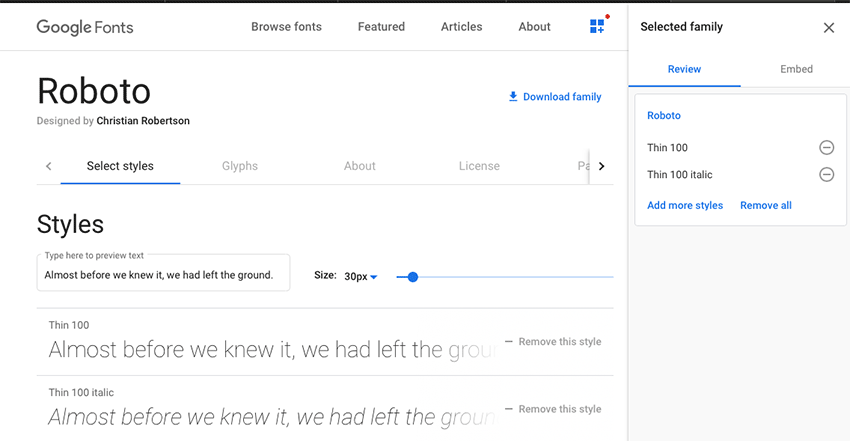
From there, you can choose from a variety of styles. You can add them to your font family. Once you’re done with this selection process, click over to the Embed tab.
An embed code should now be visible. Copy this code.

Next, login into WordPress and paste this code into the <head> section of your chosen theme. You’ll definitely want to make a copy of your site’s files first before you do this and/or make a child theme. You’ll be pasting this code into the header.php file.
Alternatively, you can also choose to enqueue your new fonts through your theme’s functions.php file.
Save your changes. Then, go back to the Google Fonts page for your chosen font. Right below the embed code you previously copied; you should see a bit of CSS.
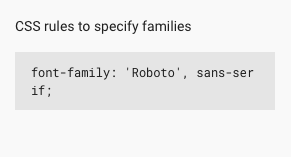
Copy the CSS. Now go to the Customizer in WordPress (Appearance > Customize) for your theme. There should be a spot for Additional CSS. Paste this bit of CSS code there to apply your font site-wide by assigning it to the body element, or just specific items like headers or navigation. Don’t forget to click Publish when you’re done.
Add Adobe (Typekit) Fonts to WordPress Manually
Typekit fonts are now known as Adobe Fonts and you can get them when you sign up for a Creative Cloud subscription. You can use these custom fonts however you’d like – including on your WordPress site. To add them manually, you’ll follow a similar procedure as described for Google Fonts, but let’s break it down in detail.
First of all, you need to select the font you want to use. Once you find one you want, click the toggle button next to it that says Activate font.
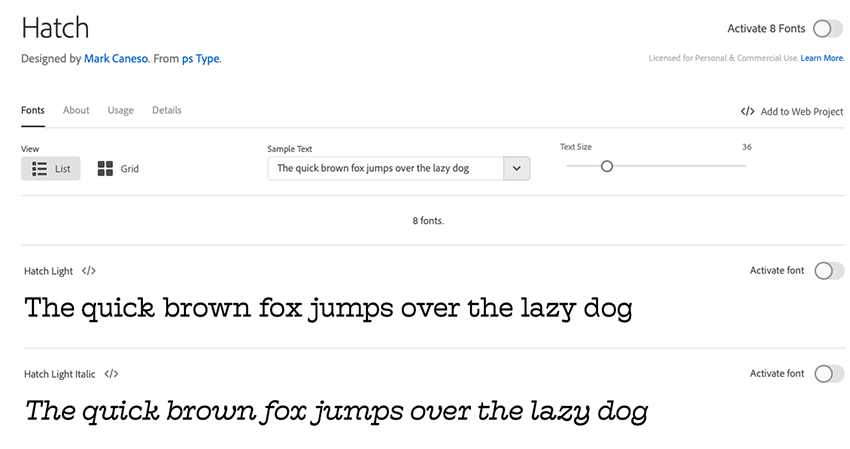
From here, you’ll need to click the link that says < / >Add to Web Project.

Give your project a name and toggle the various font styles and weights associated with your chosen font. Click Create Project when you’re done making changes.
From here on out, the process is identical to adding Google Fonts. Just grab the embed code from Adobe Fonts and paste it into the <head> tag in your site’s header.php file. Add the CSS snippet to the Customizer and you’ll be good to go.
Load Google or Adobe Fonts in WordPress Properly
Making customizations to your site’s design can be an exciting prospect. However, it’s vital that you do it right. Failing to install or load fonts correctly can mean slower site load times and even poor functionality. Why leave it to chance? Follow the instructions offered here and prep your fonts the right way.
This post may contain affiliate links. See our disclosure about affiliate links here.