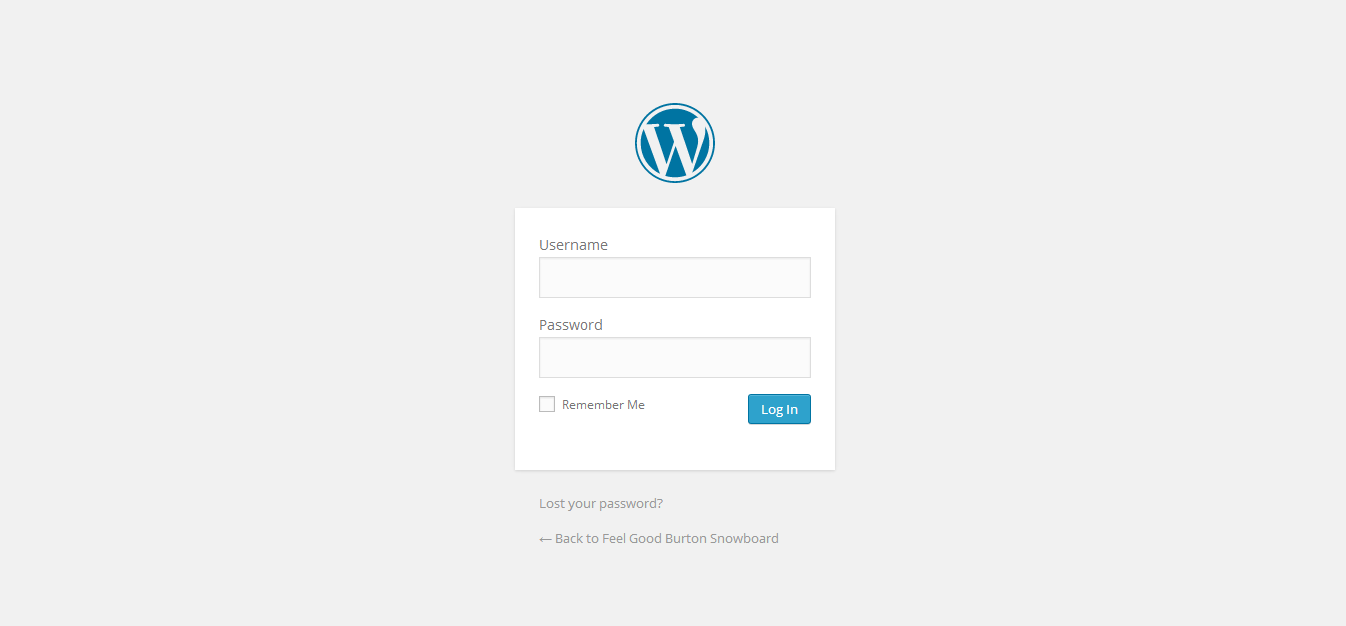
Over the years of WordPress development, the default login screen design hasn’t changed and remains simple and clean that works on different screen sizes. However, when building websites for specific clients, especially for companies, it would look nice if you can change the color scheme of the login screen as well as the logo to match with the site’s theme, right?
Good thing, it can be done easily. The great thing about WordPress is that each part of the backend can be customized by just using the PHP functions.
In today’s tutorial, I am going to show you how to customize WordPress login screen the way you want it. First, we will change the logo and then the color scheme and the some other elements. Let’s get started.
Resources You Need to Complete This Tutorial
- WordPress installation with the twenty-fourteen default theme
- Time and Patience
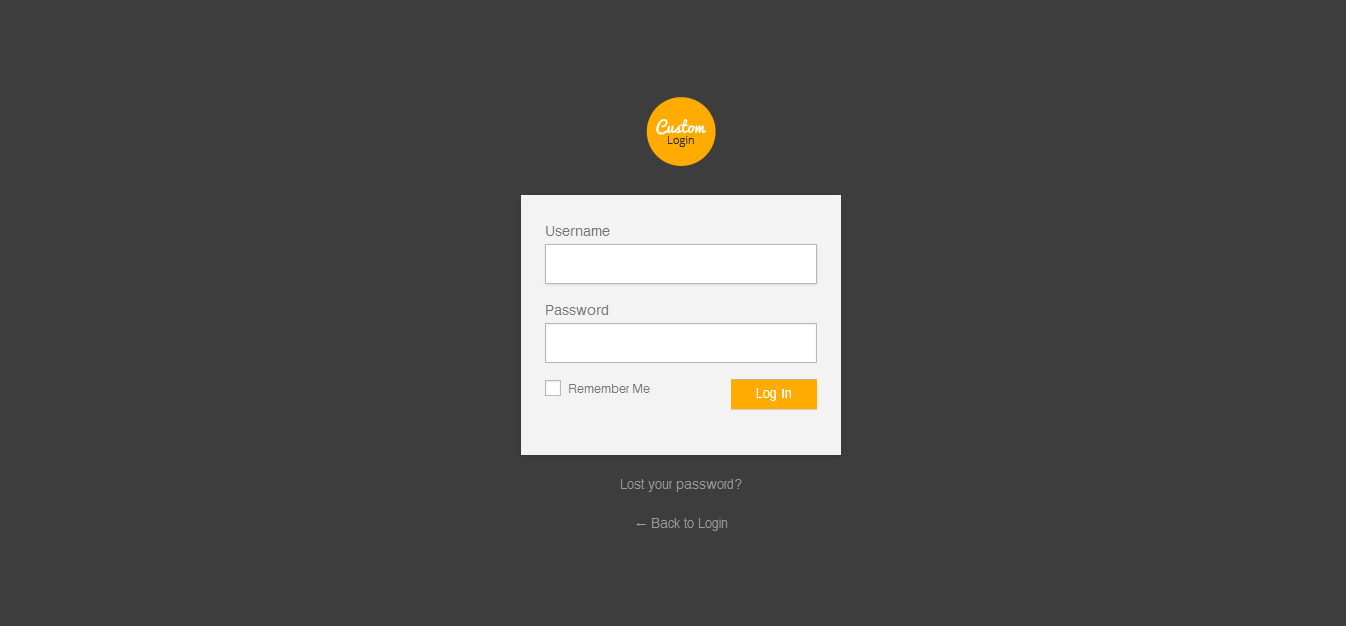
The Default WordPress Login Screen
What We Are Going to Build
Changing the Logo
WordPress uses CSS to display a background image. It is usually inserted between an H1 and an anchor tag. However, for this tutorial, we’re going to use the functions.php file inside the twenty-fourteen WordPress default theme.
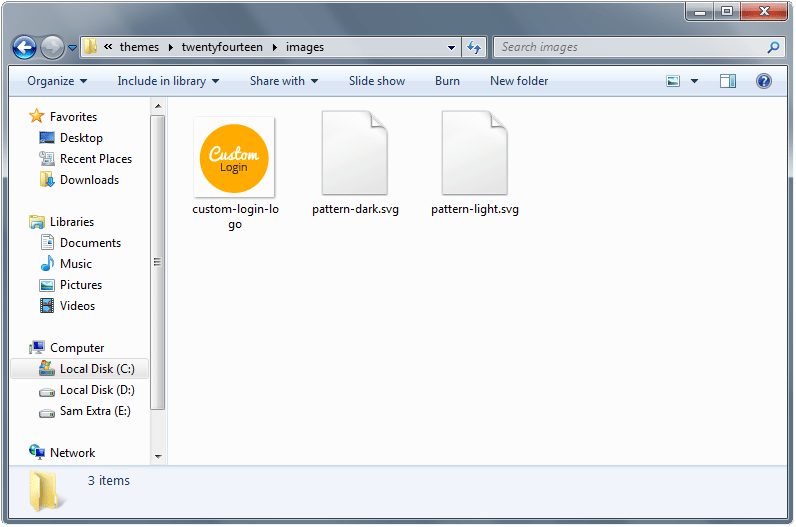
First, place your preferred logo (png file format) inside the images folder on twenty-fourteen WordPress default theme directory (for this tutorial, i used custom-login-logo.png logo). Please take note that the logo should have a maximum dimension of 80 x 80px; however, you can also change the dimension inside a custom CSS file.
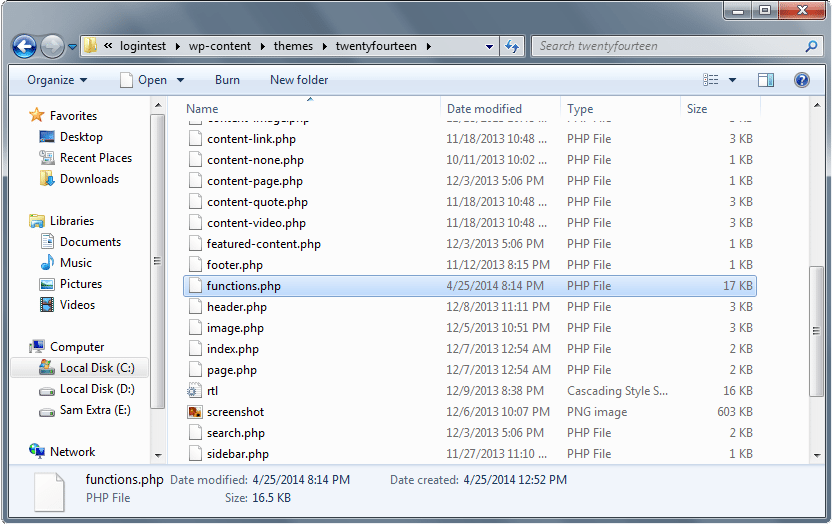
Next, open up functions.php file inside twenty-fourteen WordPress default theme. We will be using login_enqueue_scripts hook to insert CSS to the head of our login page to load our preferred logo. Insert the following code after the last line of the functions.php file and then put your preferred logo filename inside the directory path.
function login_logo() { ?>
	<style type="text/css">
    	body.login div#login h1 a {
        	background-image: url(<?php echo get_stylesheet_directory_uri(); ?>/images/custom-login-logo.png);
    	}
	</style>
<?php }
add_action( 'login_enqueue_scripts', 'login_logo' );
Changing the Link of the Logo
By default, the logo links to WordPress.org site. You can also change this link to your preferred logo and redirect it to your own site. To do this, use the following hooks below and paste it to your functions.php right after the hooks for the login logo.
function login_logo_url() {
	return get_bloginfo( 'url' );
}
add_filter( 'login_headerurl', 'login_logo_url' );
Changing the Design of the Login Screen
To customize the style of the default WordPress login screen, we need to add styles of the login page. To do this, we need to use hooks for our own CSS file. This will override the styles of the default login screen.
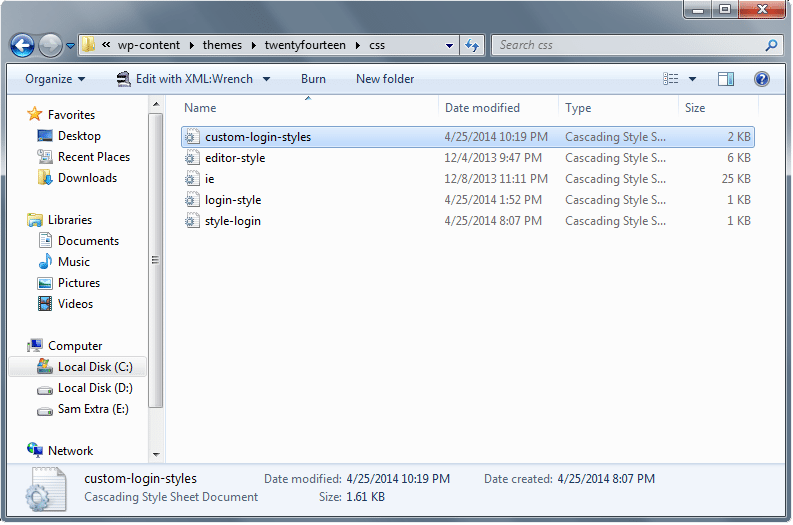
First, we need to create a stylesheet inside our CSS folder on the twenty-fourteen WordPress default theme (for this tutorial, I named my stylesheet custom-login-styles.css) and then add the following hooks on the functions.php file.
function login_custom_stylesheet() { ?>
	<link rel="stylesheet" id="custom_wp_admin_css"  href="<?php echo get_bloginfo( 'stylesheet_directory' ) . '/css/custom-login-styles.css'; ?>" type="text/css" media="all" />
<?php }
add_action( 'login_enqueue_scripts', 'login_custom_stylesheet' );
Next, open the CSS file you created under the CSS folder of the default twenty-fourteen WordPress theme. We, first, customize the background color and the font of the login screen using the following code.
body.login {
	background-color: #3d3d3d;
	font-family: Helvetica;
}
Now that we have changed the background color and the font of our login screen, let’s put a nice gray color background on the holder of our login form.
.login form {
	background: #f3f3f3;
}
Next, customize the looks of the text boxes of the form for the normal, focus and the hover state.
.login form .input,.login input[type=text],.login form input[type=checkbox] {
	background: #fff;
	border: 1px solid #b7b7b7;
            	padding: 5px;
}
.login form .input:hover,.login form .input:focus,.login input[type=text]:hover,.login input[type=text]:focus,.login form input[type=checkbox]:hover,.login form input[type=checkbox]:focus {
	background: #fff;
	outline: none;
}
Then, change the background color of the login button and give it some padding on the left and right side. I’ll also set the font size to 13px, making it look like a flat button.
body.login div#login form#loginform p.submit input#wp-submit {
	border-radius: 0;
	background: #ffab00;
	outline: none;
	border: none;
	padding: 0 25px;
	text-align: center;
	font-size: 13px;
}
Finally, let’s change the link text (Forgot Password and Back to Login link) for normal and hover state as well and then position both to the center of the screen.
body.login div#login p#nav {
	margin: 20px auto;
	text-align: center;
}

body.login div#login p#backtoblog {
	margin: 0 auto;
	text-align: center;
}
.login #nav a:hover,.login #backtoblog a:hover {
	color: #ffab00;
}
Final Words
That’s all folks! I hope you learned from this tutorial and turn your plain WordPress login screen into to your preferred design. If you are not comfortable doing all this PHP stuff, you can use WordPress plugins like Branded Login Screen and Login Screen Manager.
Do you know any other great tricks to do the same thing? We want to hear from you!
We hope that now you can see the huge advantage of WordPress and the possibilities in his use. We agree that maybe it’s not suitable for every possible project that you want to build, but for majority it is. Share your thoughts.
This post may contain affiliate links. See our disclosure about affiliate links here.