Among the biggest advantages of a content management system (CMS) such as WordPress is the ability to easily make changes on a live site. While that’s great, there are times when you don’t want visitors to access your website during the process. In those cases, using maintenance mode makes sense.
Today, we’ll introduce you to the concept of WordPress maintenance mode as well as example scenarios for its use. Then, we’ll show you how easy it is to implement on your own website. Let’s get started!
UNLIMITED DOWNLOADS: 500,000+ WordPress & Design Assets
Sign up for Envato Elements and get unlimited downloads starting at only $16.50 per month!

What Is Maintenance Mode?
Changing a page or post within WordPress is a simple process. You can add, edit or delete content as needed. But there are cases when you need to do more – and it could have a negative impact on your site’s visitors.
Maintenance mode is built for these instances. Through the use of a plugin, it limits the general public’s access to the front end of your website. At the same time, it allows logged-in site administrators to view the website as usual.
This makes it extremely handy for implementing large or complex changes. Users who come to your website will see a customized screen, thus avoiding the possibility of experiencing a broken page or feature.
For developers, it provides peace of mind. You can complete your work without the fear of causing issues for users. When you’ve finished and tested the results, it’s easy to return to normal.

Potential Usage Scenarios
Routine changes, such as adding a new blog post or editing the contents of a page, won’t necessitate putting your website into maintenance mode. However, there are a number of scenarios where it may be appropriate:
eCommerce Websites
If you’re making significant changes to your WooCommerce shop, you probably won’t want customers browsing, adding items to their cart or completing orders. A customer caught in the middle of these updates could be charged incorrectly or encounter usability issues.
Online Courses
WordPress makes for a great learning management system, as you can use it to build interactive courses. But, just as with eCommerce, you won’t want to implement changes while students are in the middle of a course. This could hamper their progress – not to mention the potential for causing confusion.
Bug Fixes
This is also ideal for times when you’re performing actual maintenance. If, for example, a feature is broken and is rendering all or part of your site unusable, temporarily shutting it off from public view may be the best way to go.
Of course, there are a number of other scenarios where this tool could come in handy. Hopefully these examples provide some context as to when to implement it on your WordPress website.
Putting Your Website in Maintenance Mode
Now that we’ve covered what maintenance mode is and why you’d want to use it, let’s put it into action. Thankfully, it’s a fairly straightforward process.
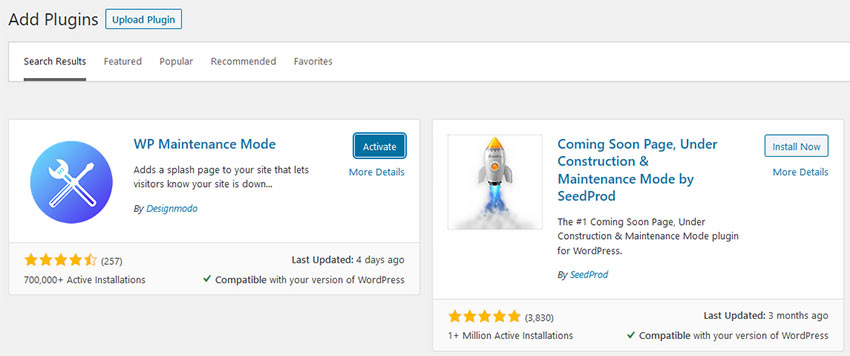
1. Install the WP Maintenance Mode Plugin
There are a number of different WordPress plugins that enable the use of maintenance mode. They all have their own strengths, and it’s worth taking the time to find a good fit for your needs. But for our purposes, we’re going to use WP Maintenance Mode, a popular choice that offers all the basics.
To install it from the WordPress Dashboard, go to Plugins > Add New and search for “WP Maintenance Mode”. From there, install and activate the plugin.
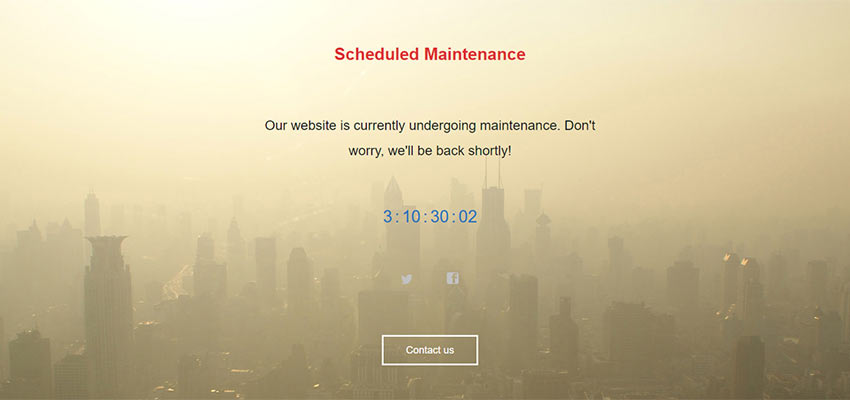
2. Customize Your Maintenance Mode Screen
Next, it’s time to make sure that our maintenance mode screen looks good and provides the right information to users. To do so, let’s head over to Settings > WP Maintenance Mode.
Then, click on the Design tab to start customizing. WP Maintenance Mode lets us choose a heading, text, colors and a background for the screen. You can even upload a background image, if you like.
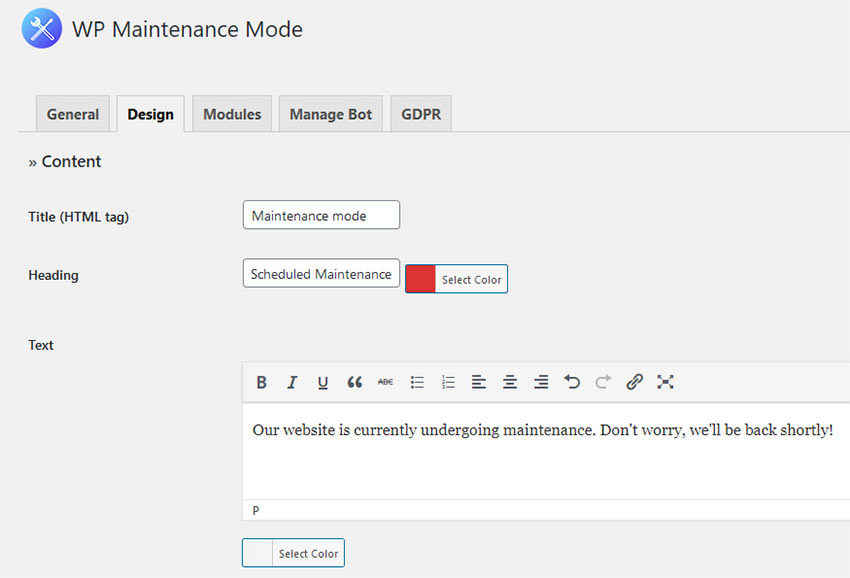
Once you’ve set things up the way you want, save the settings and then click on the Modules tab.
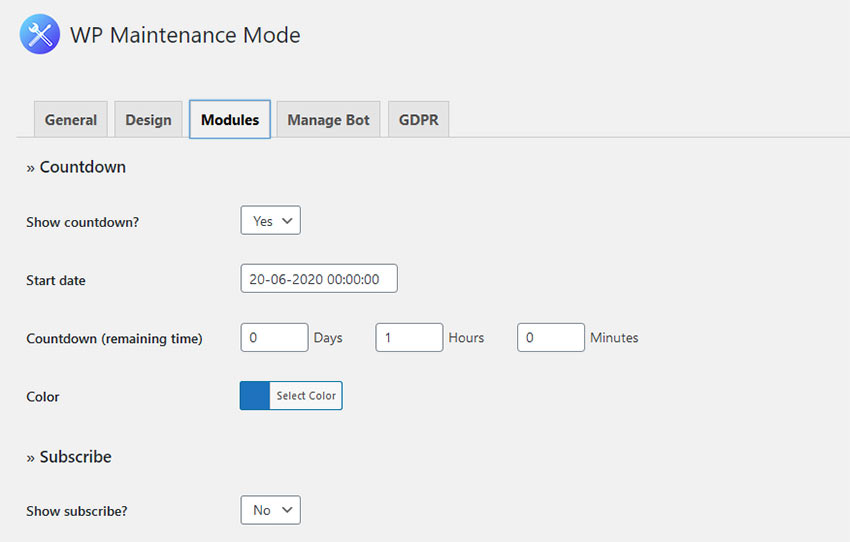
Among the available modules are a countdown timer, social media links and general contact info. Google Analytics may also be added here. There’s even a built-in method for users to input their email address and find out when the site is back online.
To keep things simple, we’ll just choose a countdown timer, add a couple social media links and contact info.
3. Testing It Out
Since we’re experimenting with a local install of WordPress, there’s no harm in checking out what our custom screen will look like.
We can turn on maintenance mode by visiting Settings > WP Maintenance Mode and making sure we’re within the General tab.
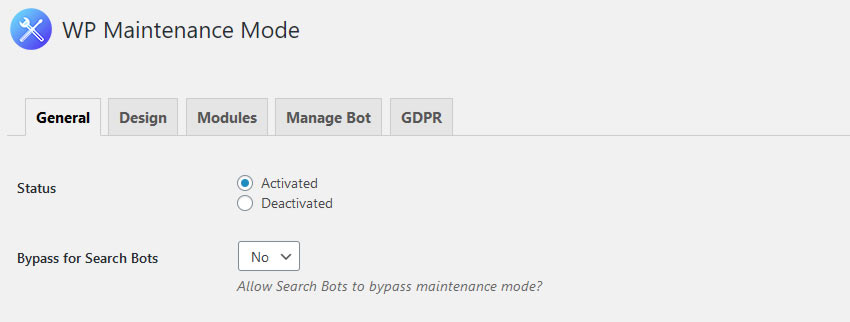
Here, we can choose to activate maintenance mode. In addition, there are options for defining which user roles can access the front and back ends (administrators always have access), how to handle search engines and more.
Remember, since administrators still have regular access to the website, you’ll need to log out in order to see things as a typical user would. Once we’ve done that, we can take a look at the results.
4. Return to Normal
Putting your website back to normal is quick and easy. Visit Settings > WP Maintenance Mode and make sure you’re within the General tab. Click the “Deactivated” radio button and save the settings. That’s all there is to it!
A Helpful Tool for WordPress Maintenance
The great thing about utilizing a WordPress maintenance mode plugin is that it allows you to work on your website while keeping users out. This gives you room to make necessary changes while preventing any publicly viewable mishaps.
In addition, it’s incredibly easy to use. Set up a few options, activate maintenance mode and you’re good to go. Turning it off is just as quick.
Now that you have this handy addition to your toolbox, maintaining your WordPress website will be a little less stressful.
This post may contain affiliate links. See our disclosure about affiliate links here.