Recently, we took a look at the rising trend of “headless” WordPress configurations. The term describes the process of creating content within WordPress, then pushing it out for use in another application. In essence, this works to separate (or decouple) the front and back ends.
One of the more exciting features of this setup is the ability to create content within the familiar confines of a CMS and use it to feed just about anything you want. Among the most common destinations for this content would be mobile apps, progressive web applications and static websites.
Today, the focus will be on the latter. We’ll take you through the process of using a headless WordPress installation to create a static website. For this, we’ll utilize GatsbyJS, a React-based framework that can work in tandem with WordPress.
The result will be a basic static website that will run incredibly fast, while allowing us to keep the content management abilities of WordPress. Let’s get started!
UNLIMITED DOWNLOADS: 500,000+ WordPress & Design Assets
Sign up for Envato Elements and get unlimited downloads starting at only $16.50 per month!

A Quick Look at GatsbyJS
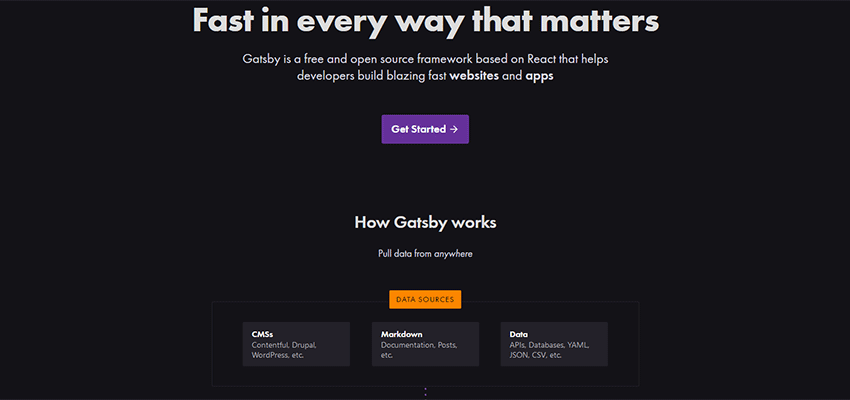
GatsbyJS has become a popular tool for generating static websites. It offers a lot of flexibility, as well as a number of plugins and starters to help get your project going rather quickly. This goes well beyond WordPress, with the ability to work with a number of different CMS and other data sources.
But for our purposes, WordPress compatibility is exactly what we’re looking for. And while there are some WordPress-specific starters available, we’re taking a very barebones approach. The starters are outstanding, but do have some dependencies which could trip up beginners.
Requirements
In order to use GatsbyJS, you’ll need to familiarize yourself with the command line. And you’ll need, among other things, to have Node.js, Git and the Gatsby CLI tool installed on your web server or local machine (that’s where we’re building our demo).
You may be wondering: How is a local machine set up? While we won’t go into too much detail here, there are a number of ways to go about it. For example, XAMMP (which we’re using) is a great option and will work on Mac OS, Windows and Linux. In essence, it’s a matter of downloading the server you want, installing it and then hitting the command line.
There’s a tutorial available that will walk you through the various software packages you need for your particular environment.
The other big requirement is, of course, an installation of WordPress. To push data from WordPress to your GatsbyJS static website, you can use the default REST API that comes built into the CMS.
Inside WordPress
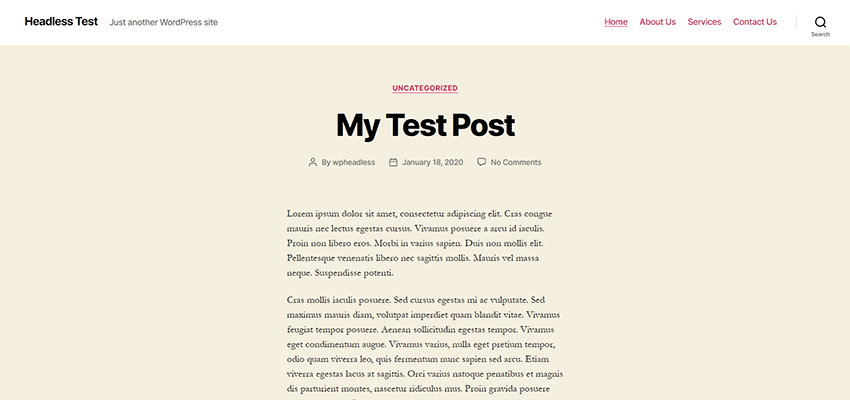
Inside our WordPress site, we created a handful of test pages, along with a test blog post. You don’t need to do anything more than this when first experimenting.
In addition, we put our pages in a menu called “Main Menu”.
By default, WordPress menus aren’t available in the REST-API. Installing the WP REST API Menus plugin will do the trick. We’ll be using this as well to help auto-create menus on our static site.
Creating a New GatsbyJS Website
So, we’ve installed the necessary command line software on our local machine and created a fresh install of WordPress (with the WP REST API Menus plugin installed and activated) on a remote web host.
According to the GatsbyJS documentation, we need to run a command in order to create a new website. First, navigate to a directory where you’d like to build (we’re using C:\gatsby on a Windows 10 machine). We’ll deviate a little from their notes, as we’ll be using a custom site title “1wd-static” (which will create a folder with the same name).
Here’s the command for building this new website:
gatsby new 1wd-static
The command takes a little time to run, as it installs the package. When the process finishes up, we can navigate to that new site via the command line. In our case, it’s:
cd 1wd-static
Okay. We’re in the directory where our static website has been created.
Next, we’ll install the gatsby-source-wordpress plugin. This allows us to fetch data from WordPress:
npm install gatsby-source-wordpress
In addition, gatsby-plugin-sitemap and gatsby-plugin-sass will be installed, as they are dependencies for the demo code we’ll use later on:
npm install gatsby-plugin-sitemap gatsby-plugin-sass
Now, it’s time to put GatsbyJS into development mode:
gatsby develop
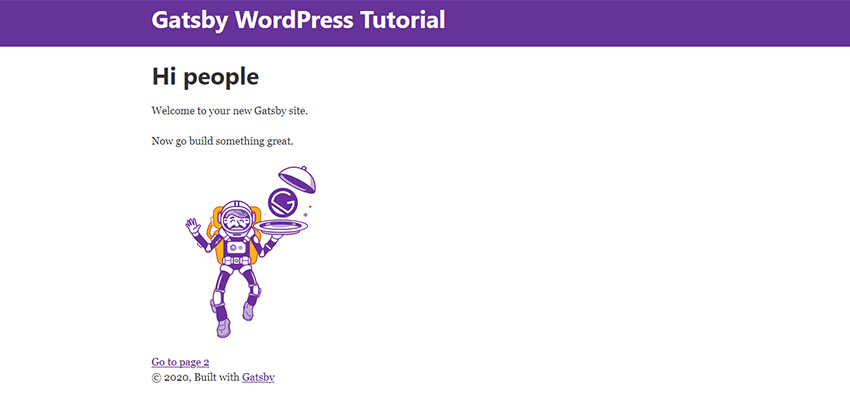
If everything went smoothly, you should now be able to view the site in your web browser by visiting http://localhost:8000
The site is nothing fancy so far, just a basic page with default content. We still have to configure some files to get GatsbyJS talking to our WordPress site.
Tip: If you need clarification on the process, check out this helpful tutorial on the official GatsbyJS blog.
Pushing Site Content from WordPress to GatsbyJS
The next step on our journey involves grabbing the content from our WordPress install and feeding it into our new GatsbyJS static website.
The first part of the process is in customizing some GatsbyJS files.
Download and Replace the Files
Before we move along, you’ll want to download a copy of the example GatsbyJS site and replace the existing files. Several of the files have been changed from the default in order to grab pages and posts from a WordPress install. There is also a GitHub repository of the files if you’d like to take a look around.
The original code is courtesy of Tim Smith, who wrote the GatsbyJS blog tutorial we referenced above.
Options to change:
Assuming you have downloaded the necessary files above, there is only one place you’ll need to make changes. Open up gatsby-config.js, located in the root folder of the static website.
Head to the section that reads: resolve: "gatsby-source-wordpress" and take a look at the following:
baseUrl: "gatsbypress.iamtimsmith.com", // Change to your WordPress URL, without the ‘http://’.
protocol: "https", // Use https if you have SSL installed on your WordPress website. Otherwise, use http.
hostingWPCOM: false, // Keep as ‘false’ UNLESS you are hosting with WordPress.com.
A little farther down, look for:
searchAndReplaceContentUrls: {
sourceUrl: "http://gatsbypress.iamtimsmith.com", // Replace with the full URL of your WordPress website.
replacementUrl: "https://localhost:8000", // The local URL of your GatsbyJS website – this should be fine as-is.
},
Testing
Now that we’ve customized gatsby-config.js, it’s time to test! In order for GatsbyJS to recognize the updated files we’ve installed, we’ll need to:
- Restart the local server;
- In the command line, navigate over to the folder where our static website exists,
/1wd-static/
Then, enter the following command:
gatsby develop
Once GatsbyJS starts up, the test site will be available once again at: http://localhost:8000
The Results
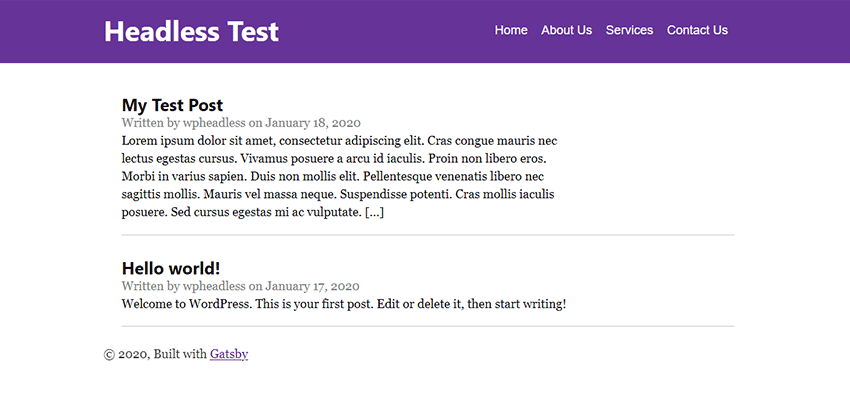
It works! The static website now displays our blog posts on the front page, while a top navigation menu will direct visitors to our secondary pages. Notice the site’s title also reflects what we set in WordPress.
The site is not ready for public consumption just yet, but we’ve got a great foundation to build on.
Moving Forward
Now that we have the basics of a headless configuration, there are plenty of goodies to add. The most obvious of them is the design. Check out the documentation to see how to style a GatsbyJS website and use a theme.
Another thing missing from our demo are images, which is covered in Adding Images to a WordPress Site.
Finally, if you’re looking for a complete and thorough guide to the site building process, check out this step-by-step tutorial. It will take you through site set up, development and launch.
Final Thoughts
The experience of building a headless WordPress configuration was full of ups and downs – sometimes even a bit discouraging. That’s to be expected, as there is just about always a learning curve when experimenting with new tools. However, once you get the process down and gain a better understanding of what GatsbyJS is doing, things improve.
That being said, it’s worth taking the time to read the documentation. Setting up GatsbyJS is much more intricate than WordPress alone. It seemed like one false move led to lots of error messages. Each time, some research was required to sort things out.
Once you get it running, though, you can see why developers are adopting this approach. We’re just in the beginning stages, but the future looks awfully bright.
This post may contain affiliate links. See our disclosure about affiliate links here.