With so many things to know and techniques to learn it often becomes hard for designers and developers to keep up with their projects and manage their work. While you could start every project by doing the same things again and again, the smart designers and developers know the importance of a well-developed workflow.
One of the things that can accelerate and enhance your workflow is the tool known as online pattern generator. Check the table of Contents to see everything that’s included in this inspirational article.
Your Web Designer Toolbox
Unlimited Downloads: 500,000+ Web Templates, Icon Sets, Themes & Design Assets
Starting at only $16.50/month!
Table of Contents:
- Backgrounds & Patterns Generators
- Color Palettes
- Buttons Generator
- CSS3 Buttons Generators
- CSS3 Generators
- Background Pattern Design Trends And An Inspirational Showcase
- Beautiful Examples of Textures in Web Design
- Create a Flash-like Color and Pattern Morphing effect with jQuery
- Inspirational Showcase of 50 Twitter Backgrounds
Backgrounds & Patterns Generators
Online pattern generator can be extremely handy for creating small details or saving time writing code. Whether it’s a striped background, a pattern or an advanced CSS3 text effect, online generators can surely make your workflow go smoother. This post presents 45 of the best and latest online generators for designers and developers. The emphasis has been put on CSS3 generators since CSS3 is quickly becoming the new progressive web standard.
1. BGMaker
BGMaker allows you to create solid line patterns which are then exported as transparent PNGs. Don’t be fooled, however. If you checked out the gallery, you’d see the true power of this lite generator.
2. BGPatterns
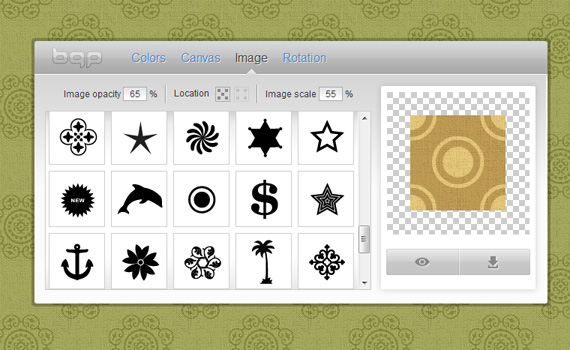
BgPatterns is a tiny web app for making background patterns in a few clicks. It was created mostly for fun and experimentation by Sergii Iavorskyi.
Feedback is welcome.
3. PatternCooler
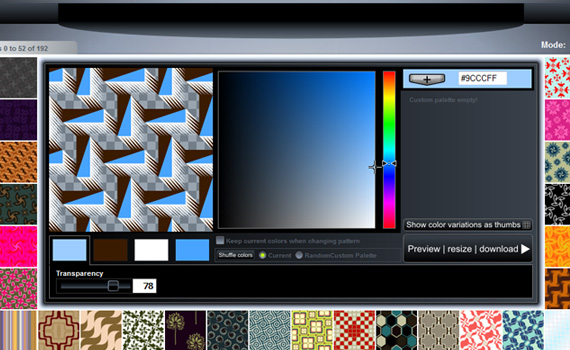
With PatternCooler you can add your own colors to 100s of cool free pattern designs, or browse from 10 000s of colored patterns using a seamless pattern background editor.
4. TartanMaker
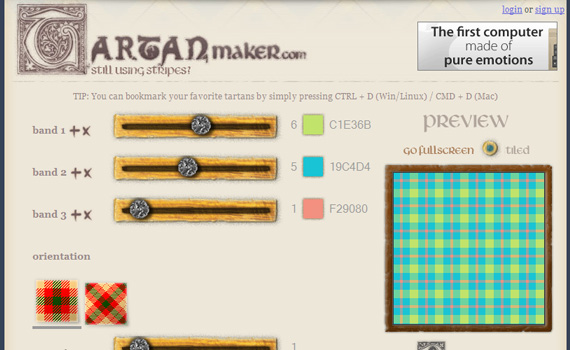
Tartan Maker is a new trendsetting application for cool designers created by Alex ‘Pit’ La Rosa & Fabio Fidanza. You can easily create tartans with up to 10 bands and then export them as PNGs.
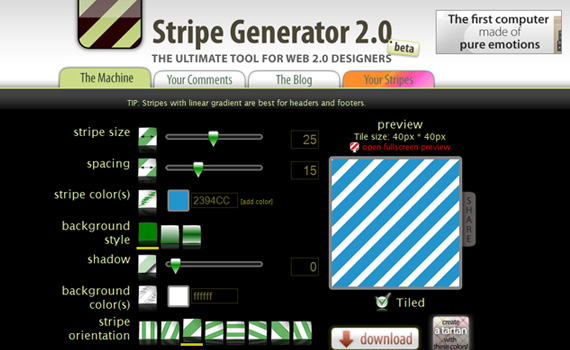
5. StripeGenerator
With Stripe Generator you can unleash your personal style, experiment and download the tile. You can use it directly in your CSS file or as pattern in Photoshop.
6. StripeMania
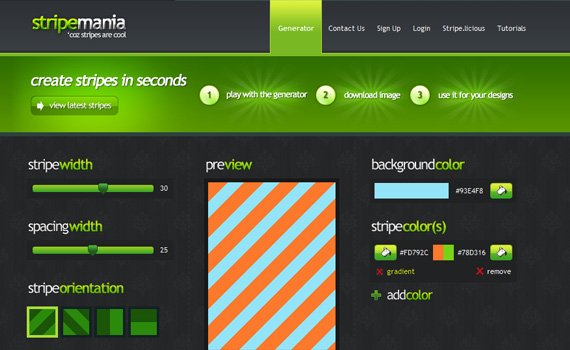
Stripemania is a simple and free web tool to create seamless diagonal stripes for your designs. You are able to choose the size of the stripes and the spacing between those. You can even add color gradient effect for all of your stripes.
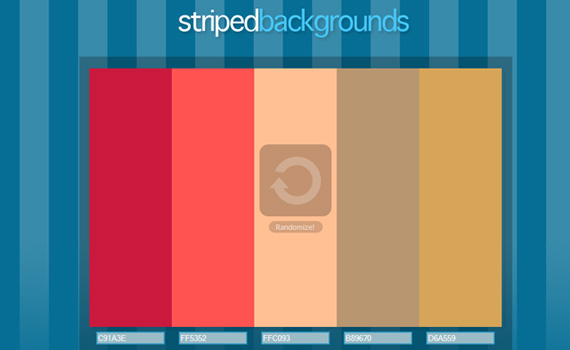
7. StripedBackgrounds
StripedBackgrounds generates a 5 column striped background with your chosen colors and resolution.
8. Dotter
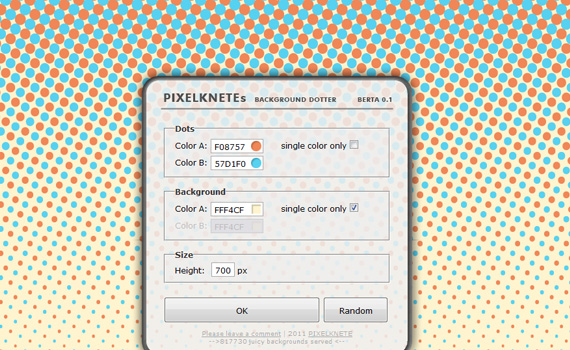
Dotter allows you to easily create stylish dotted background with either one or two colors.
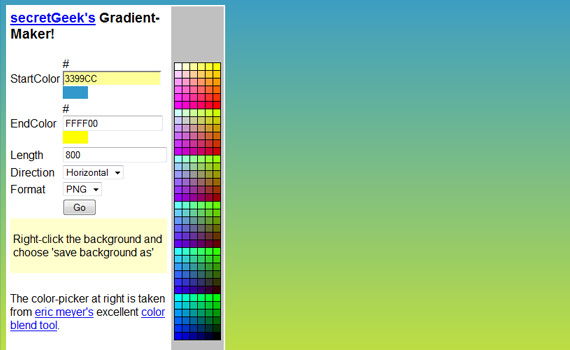
9. secretGeek’s GradientMaker
This gradient maker by secretGeek allows you to create horizontal or vertical gradient backgrounds with two colors.
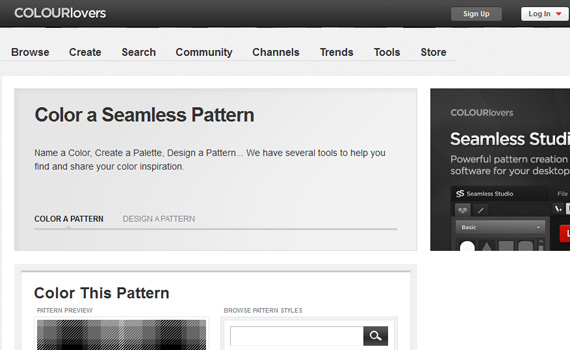
10. ColourLovers Seamless Studio
Seamless Studio makes it easy to design a seamless pattern. With simple editing tools you can resize, rotate and add shapes, lines and text to the canvas and it tiles automatically. Save your pattern template and see how the world colors it in.
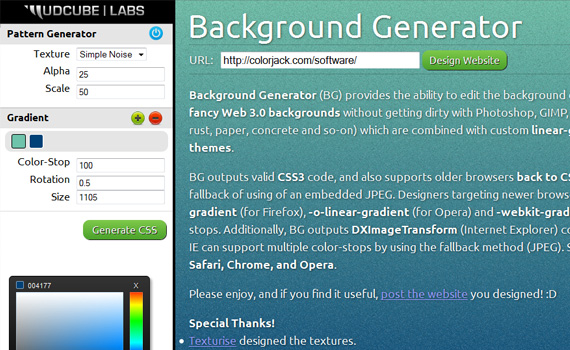
11. Background Generator
Background Generator provides the ability to edit the background of any website in real-time. It allows you to create fancy web 3.0 backgrounds without getting dirty with Photoshop and other image editing software. The project includes a collection of textures which are combined with custom linear-gradients and colors to create a wide assortment of themes.
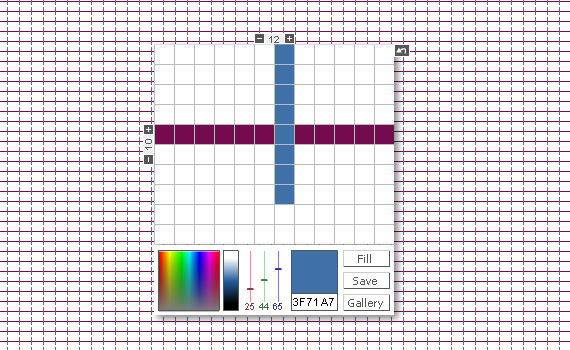
12. Patternify
Patternify is an app that lets you create simple pixel patterns and export them either as PNG or as base64 code. The awesome part is that you can embed the base64 code straight in your CSS code! You don’t even need to use an image file anymore.
Color Palettes
Color palettes are very important thing when designing a website or any other kind of designing project. Here you can find some great tools that will help you with your selection.
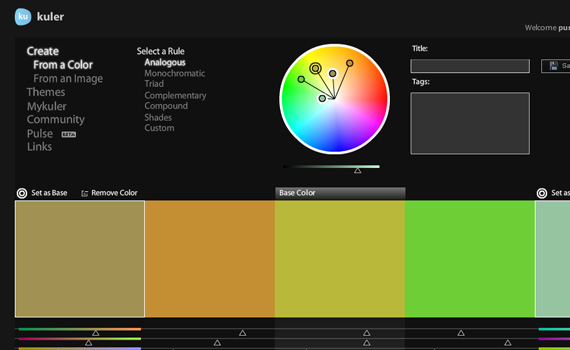
1. Kuler
Kuler by Adobe is a web-hosted application for generating color themes that can inspire any project. No matter what you’re creating, with Kuler you can experiment quickly with color variations and browse thousands of themes from the Kuler.
2. Color Scheme Designer
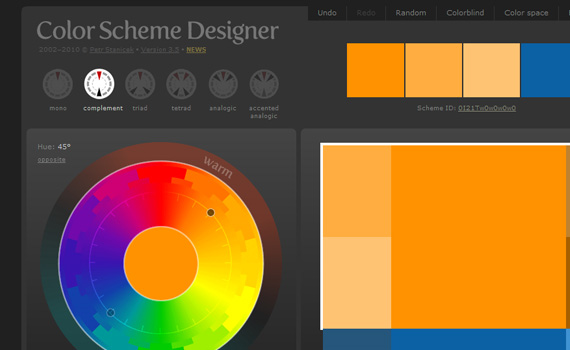
Color Scheme Designer allows you to create various color schemes and export them as HTML/CSS, ACO for Photoshop and many more.
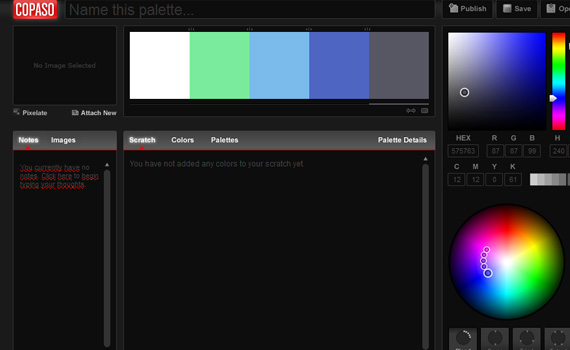
3. Copaso
COPASO from ColourLovers is an advanced color palette tool that helps you create the perfect color palette.
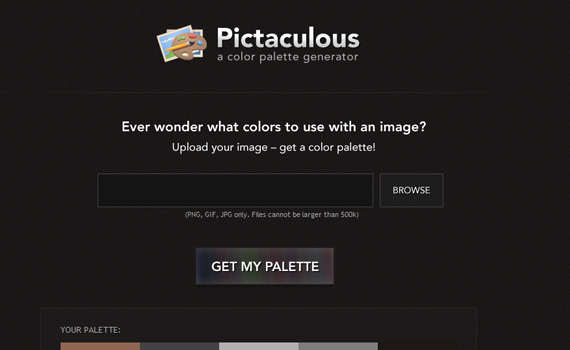
4. Pictaculous
Pictaculous helps you to decide which colors suit best with a particular image. Just upload an image and it will generate a color palette from it. You can also download Adobe Swatch File (ACO).
5. Colormunki
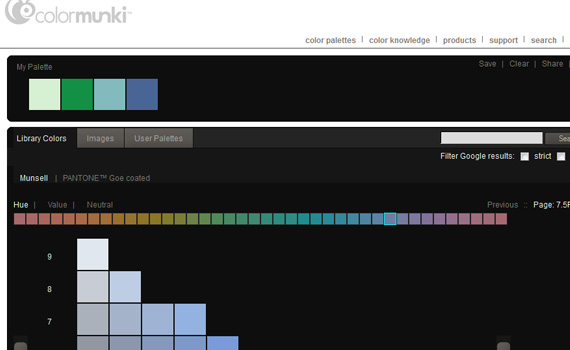
Colormunki allows you to generate color palettes from advanced color libraries, images and browse other user palettes.
Buttons Generator
Wouldn’t it be nice if you could just select what you button should look, then pasted you code to CSS sheet and done, well you can. Check this list of button generators.
1. Tabs Generator
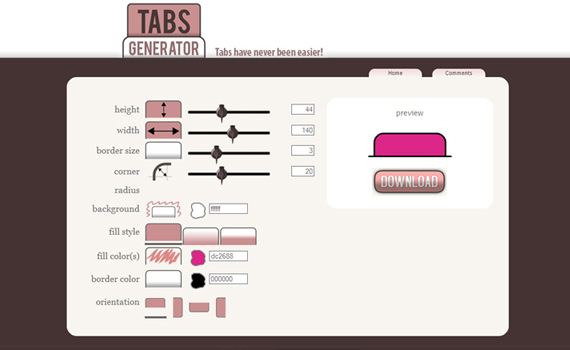
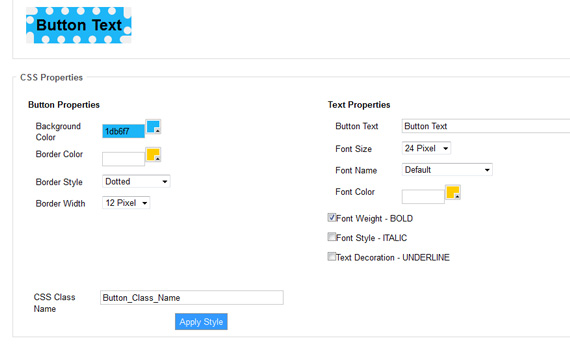
Tabs generator allows you to create tab styled buttons online without using any image editing software. Tweak size, colors, corners and more, generate your design, then download and use in your CSS style sheet.
2. Brilliant Button Maker
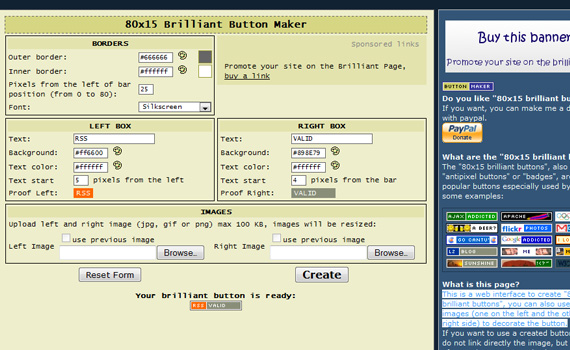
Brilliant Button Maker is a web interface to create 80×15 buttons. You can also use two images (one on the left and the other on the right side) to decorate the button.
3. Web 2.0 Badges
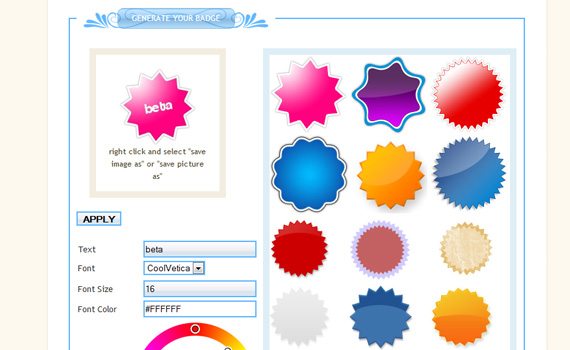
Web 2.0 Badges is a generator that creates cool web badges. Badges can be used to display a big ‘Beta’ message on your website or emphasize a price or a promotion. No web 2.0 site is complete without one.
4. Favicon
Favicon is a tool that allows you to create favicons either by painting pixels manually or importing an image.
CSS3 Buttons Generators
Another list of great button generators for you. Create your next great design using these button generators.
1. CSS3 Button Generator
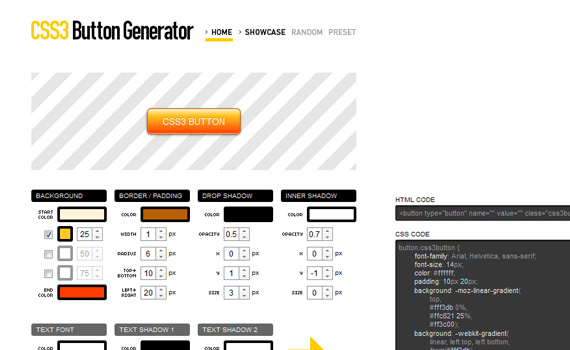
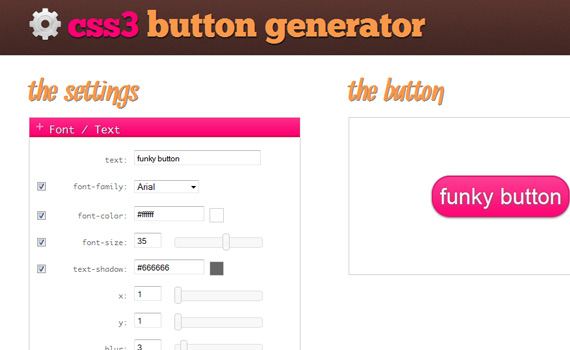
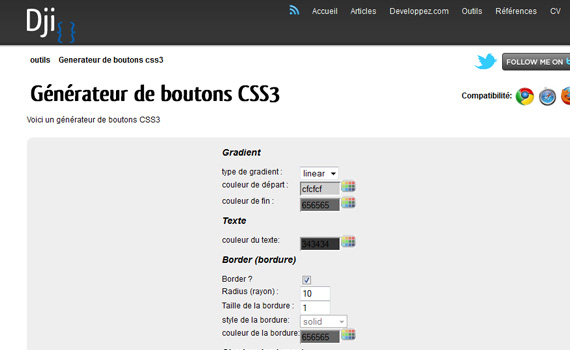
With CSS3 Button Generator you can create modern and stylish web buttons that fits today’s web standards.
2. CSS3 Button Maker
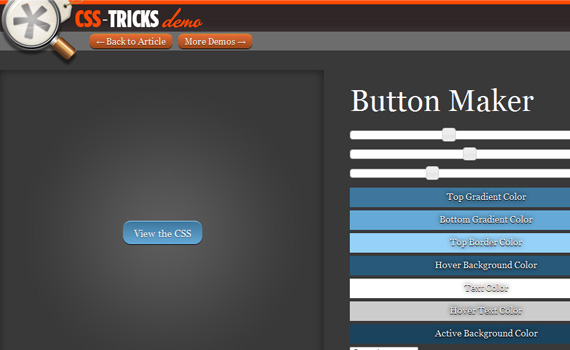
CSS3 Button Maker allows you to easily create CSS3 buttons with gradients and shadows. Just adjust the settings until you have a nice looking button, then press the button and it will give you the CSS.
3. CSS3 Button Generator
Generate fancy CSS3 buttons with just few clicks. This generator also provides you with the code for IE styles.
4. CSS Button Generator
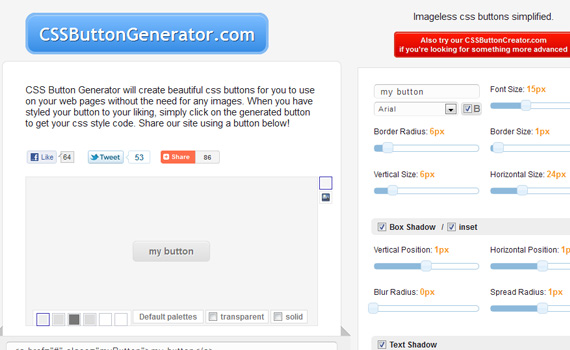
CSS Button Generator will create beautiful CSS buttons for you to use on your web pages without the need for any images. When you have styled your button to your liking, simply click on the generated button to get your CSS style code.
5. CSS3 Button Generator
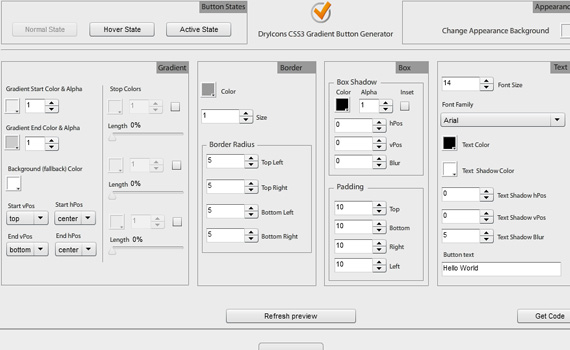
This CSS3 Button Generator is a HTML/CSS/JavaScript/Flash application that generates all of the style properties and speeds up the code writing for CSS3 buttons.
6. CSS Button Generator
With the CSS Button Generator you can instantly make buttons for your website or blog that use your colors, web fonts, and sizes. The CSS button generator uses no images and can say anything you want in any colors or size.
7. CSS3 Button Generator
Easy tool to generate CSS3 buttons with gradients and shadows.
CSS3 Generators
Create backgrounds and other CSS properties with these great generators. Choose your favorite!
1. CSS3 Generator
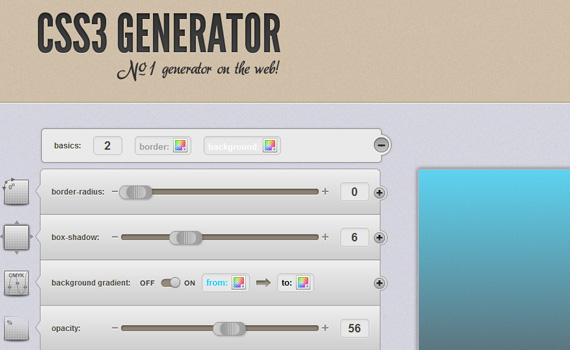
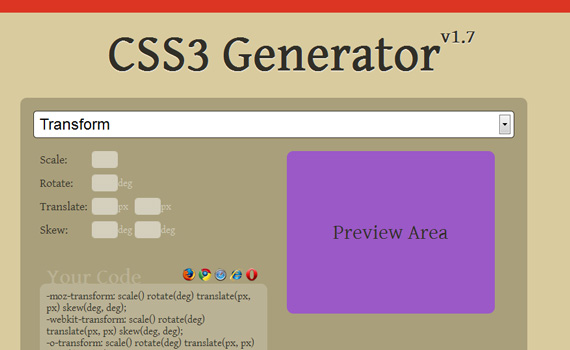
CSS3 Generator allows you to play with multiple CSS3 properties to create backgrounds.
2. CSS3 Generator
Simple generator for creating simple single CSS3 properties.
3. CSS3 Please
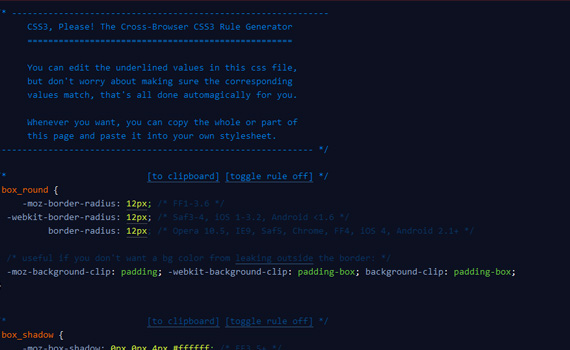
CSS3, Please! is a Cross-Browser CSS3 rule generator. You can edit the underlined values in this CSS file and when done, copy the whole CSS code.
4. CSS3Warp
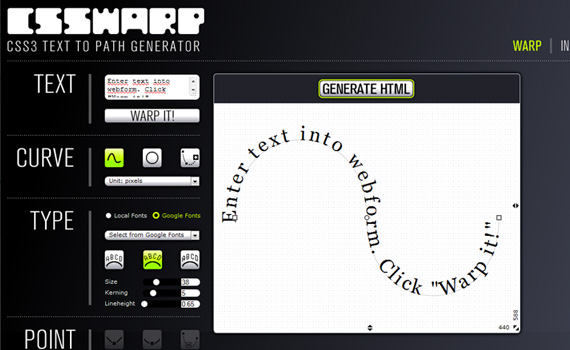
CSS3Warp is a proof of concept: create Illustrator like “warped” text (text following an irregular path) with pure CSS and HTML.
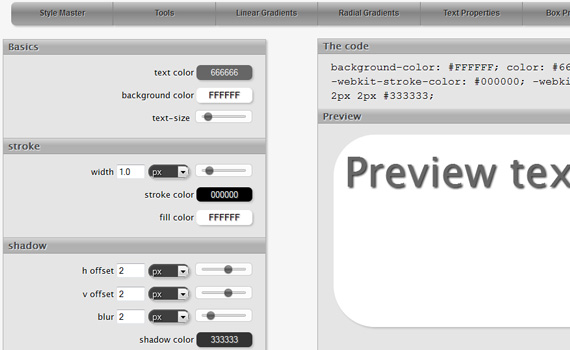
5. CSS3 Text Shadow Generator
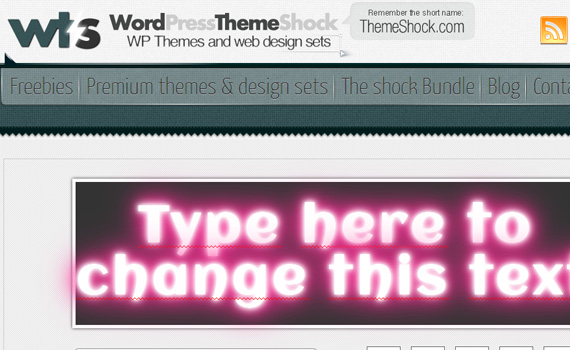
CSS3 text shadow generator helps you insert beautiful shadow effects to your texts. You can change between different web fonts and explore different shadow effects such as Fire, 3D , acid and more stunning examples.
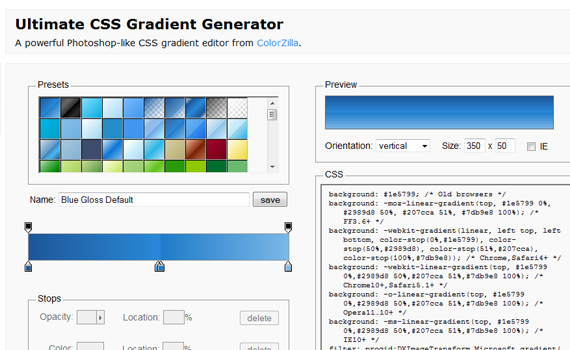
6. Ultimate CSS Gradient Generator
Ultimate CSS gradient generator is a powerful Photoshop like CSS gradient editor from ColorZilla.
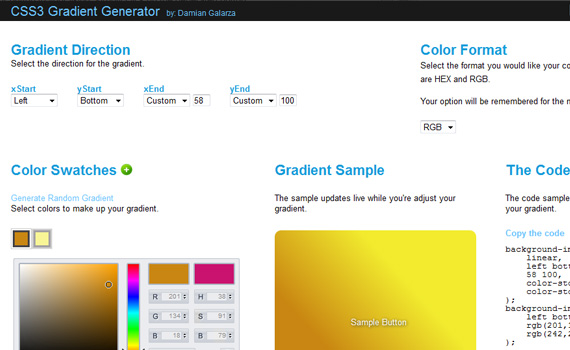
7. CSS3 Gradient Generator
CSS3 Gradient Generator allows you to generate nifty CSS3 gradients with just a few clicks.
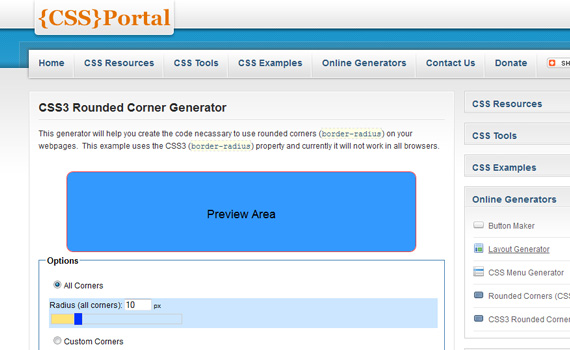
8. CSS3 Rounded Corner Generator
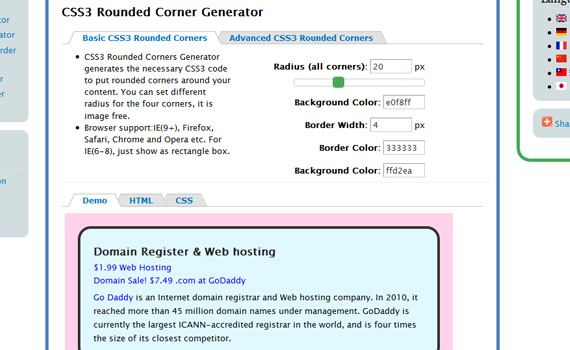
CSS3 Rounded Corners Generator generates the necessary CSS3 code to put rounded corners around your content. You can set different radius for the four corners, it is image free.
9. CSS3 Rounded Corner Generator
This generator will help you create the code necessary to use rounded corners (border-radius) on your webpages.
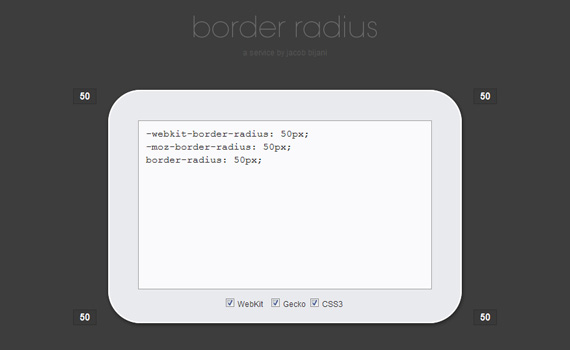
10. Border Radius
Easy tool for creating rounded corners.
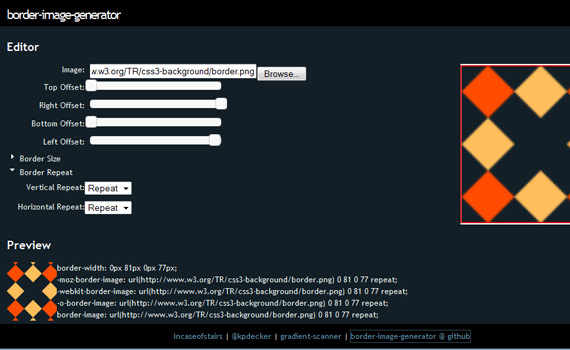
11. Border Image Generator
This generator helps you to generate code for border radius properties.
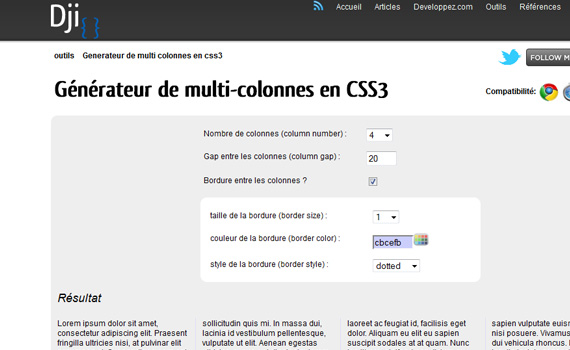
12. CSS3 Multi-columns
Generator for creating multi-column CSS3 layouts.
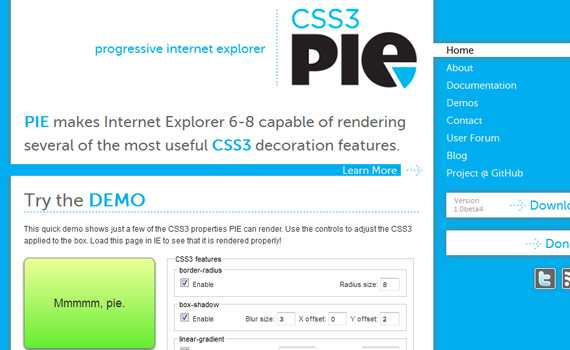
13. CSS3 Pie
PIE makes Internet Explorer 6-8 capable of rendering several of the most useful CSS3 decoration features.
14. CSS3 Sandbox
With CSS3 Sandbox you can explore CSS3 features and properties.
These were generators. The next section about pattern design trends. Let’s dig in!
Background Pattern Design Trends And An Inspirational Showcase
How many times have you focused on the layered background textures or the background image of a website instead of its overall appearance? Background Patterns are like the watchdogs for a website that watches her back without even disturbing its existence. Background patterns (when used smartly) add to the website’s overall appeal. Sometimes they might look overdone but design is very subjective and sometimes new designers go a bit overboard.
Introduction to Background Pattern Designs
Background Patterns are a set of cells, templates or tiles arranged together to form a visible background for a website’s design. Most of the time these backgrounds are designed so that when repeating the image it doesn’t actually look like the image is repeating . Rather, it would look like one large image covering the background of the very website.
The image below is obviously a single image tiled five times to form one large image. You can see the borders because I used a paint brush. You don’t even see those when used wisely.
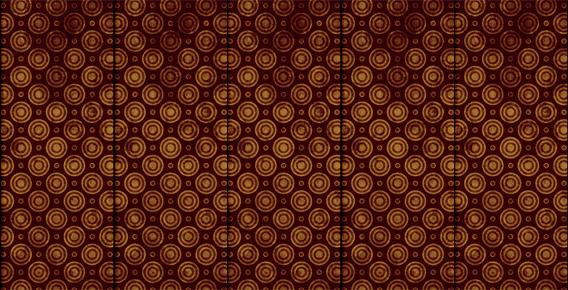
These days background patterns are being used (over and over) but with a touch of innovation. Instead of flowers, blocks or circles (like in the image above) design patterns have come a long way (and we will see that in the rest of this discussion.)
Why Blabber? Can’t You Just Discuss the Trends?
Okay! Why hurry? We are discussing an important part of a website’s design. Background patterns (as I said before) have come a long way. The trends have changed and the change (in this case) was for the better. Let us analyze the trends (before you close this browser window) that have given design patterns a lot more importance than usual.
The Audience is “Still” Important
That doesn’t change, ever! Designers create websites for visitors. What is the meaning of a religion without followers? Similarly, what is the meaning of a website without any visitors? For example the background pattern of The Boring Machine compliments its audience which will be the ones looking for shirts.
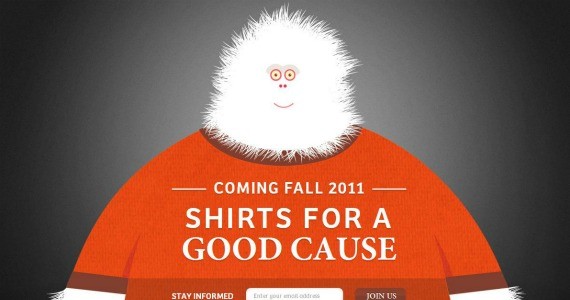
So, next time you opt for a background pattern for your next website design remember to ask yourself the following questions:
- What is the demographic of your audience?
- What will be female to male ratio of your audience?
- Is the website’s niche overly flashy and is the simple design pattern appropriate?
- And most importantly, does the website really require a background pattern or will minimal design be just as good?
Also, Content Holds Equal Importance
It is disappointing to see a background design pattern killing the content’s aesthetics. No matter how much we experiment in our designs, we must keep in mind that content was (and will always be) the king. If our background outshines our content then we might attract visitors in the short term, but the design is bound to fail in the long run. Remember, background design patterns are made to watch the website’s back. They must add to the visuals of the website and not overpower or distract from the content.
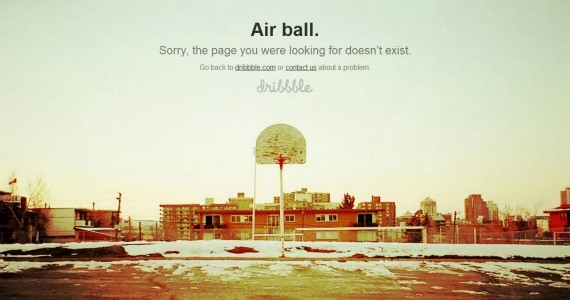
The example of Dribble’s Error Page seconds my thoughts.
Minimalist Background Pattern Design
Using a background pattern for a website does not mean that we are planning a colorful website. Design patterns with minimal usage of colors exist and they add to look of the minimal design. Henceforth, if you get to designing a minimal website and if you feel the twitch to use a background pattern then do not hesitate. There are loads of minimal background design patterns and they are very appealing. A quick example is Icon Moon.
![]()
The Patterns Do Not Stand Out. They Stick In!
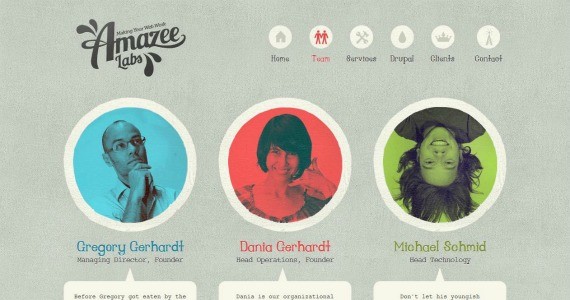
I have been putting emphasis on patterns-not-popping-out as that might kill a visitor’s experience. It is important to design a background pattern keeping in mind the website’s requirements. The background design pattern must gel effortlessly with the rest of the design instead of outshining it. I really don’t think that I will stress this anymore because the message should be clear. They must be fully integrated with the website’s design. The effortlessly designed background pattern of Amazee Labs is a great example of this.
Patterns Need not be Used for the Entire Page in all Cases
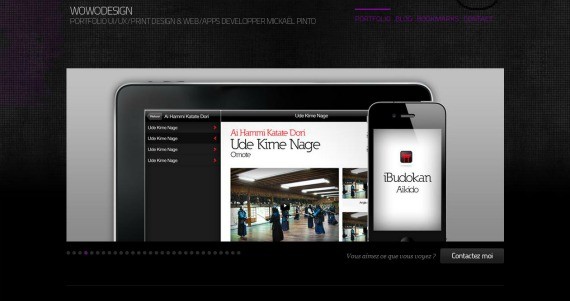
An agile notion that comes with background design patterns is that they cover the complete background of a website. If they are small then they are used as tiles and the large image covers the website’s background. Times have changed and so have the trends. Background design patterns can be used for the entire background of the website or just a section of the website. It really depends on the requirements and making a decision against the complete background filled with design patterns must not be that difficult. See WoWo Designs for inspiration.
The Showcase
Enough with words. I think it is time to pump you up with some very exciting background design patterns. Let me know your experiences in the comments below.
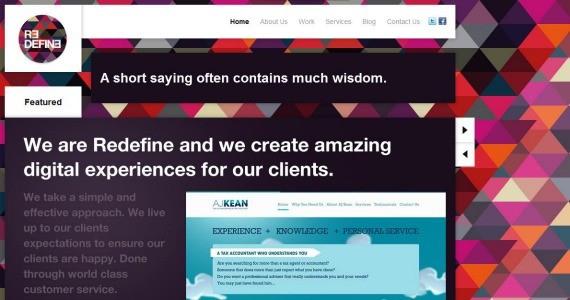
Redifine
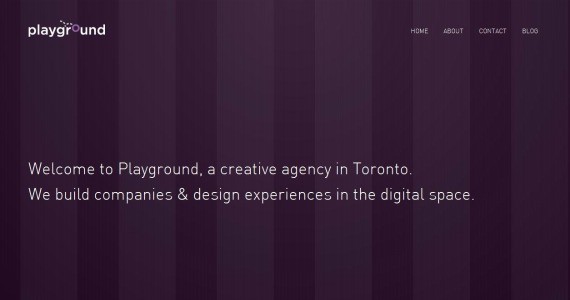
Play Ground Inc.
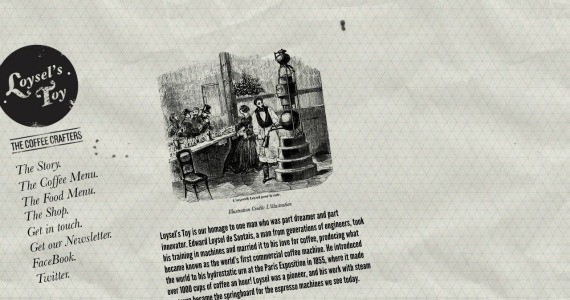
Loyel’s Toy
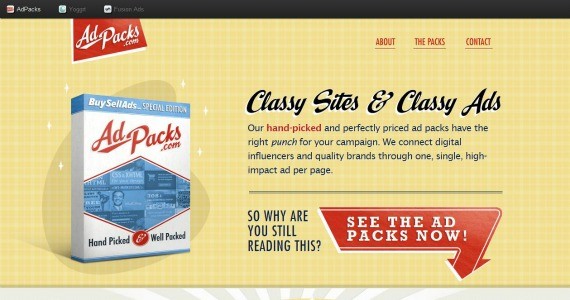
Ad Packs
Tapp 3
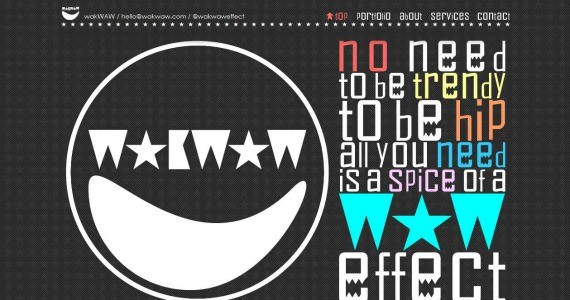
wakWAW
Cause we like to be inspired, we want the same for you. That’s why we are going to look at some great textures in web design for inspirational purposes.
Beautiful Examples of Textures in Web Design
 Whenever you visit website these days, every single one of them is trying to compete one and another. Despite the difference of products or services they offer, their mission remain the same: to engage their visitor or customer. If you find adding big text, icons, or illustrations on web design isn’t so entertaining anymore, let’s add textures.
Some web designs use solid or gradient colors as their background, others use illustration to make it look attractive. As for textures, you can add it as the background of a web design, create a certain effect on the text, or even add it to the buttons or other web graphic elements. In this post, we will show you 5 types of texture in web design for your inspiration.
Vintage
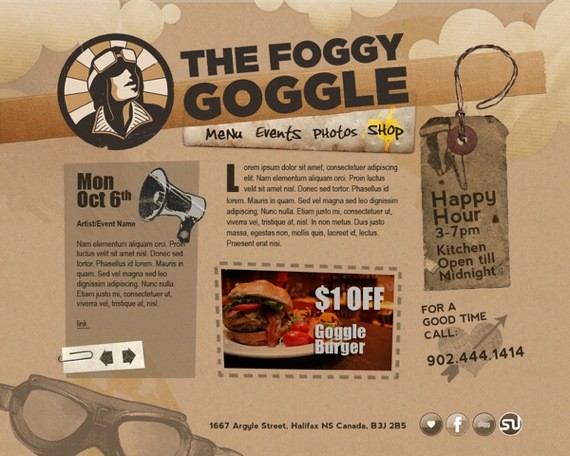
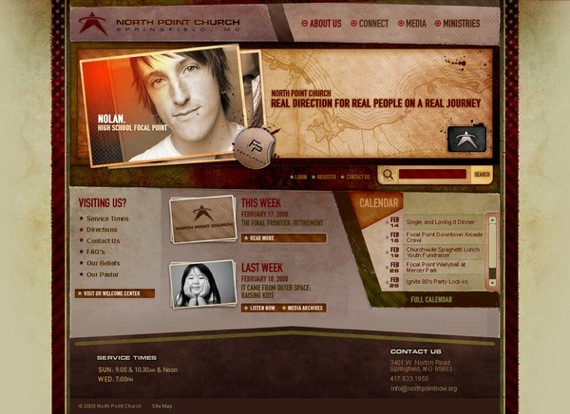
Retro/Vintage look is timeless. It may look old, but somehow this texture always get our attention and appreciation. Most web designers will use this type of texture to create the warm feel, others use it for travel and tour sites with Polaroid as the images frames.
Ernest Hemingway Collection
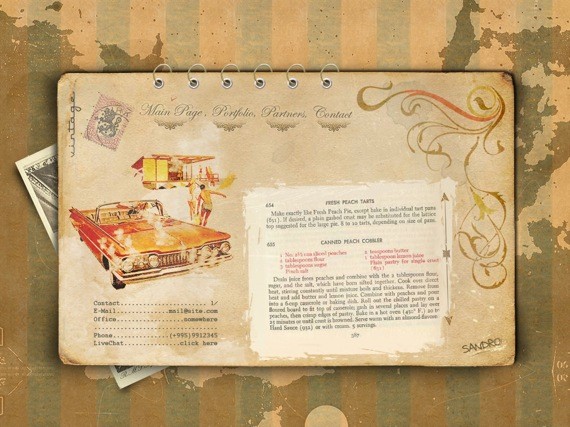
Vintage Web
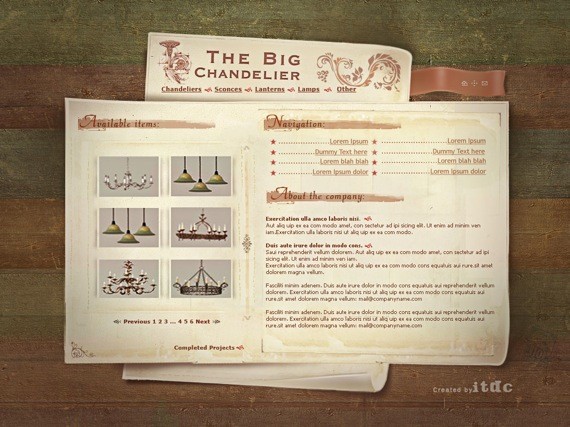
The Big Chandelier Web
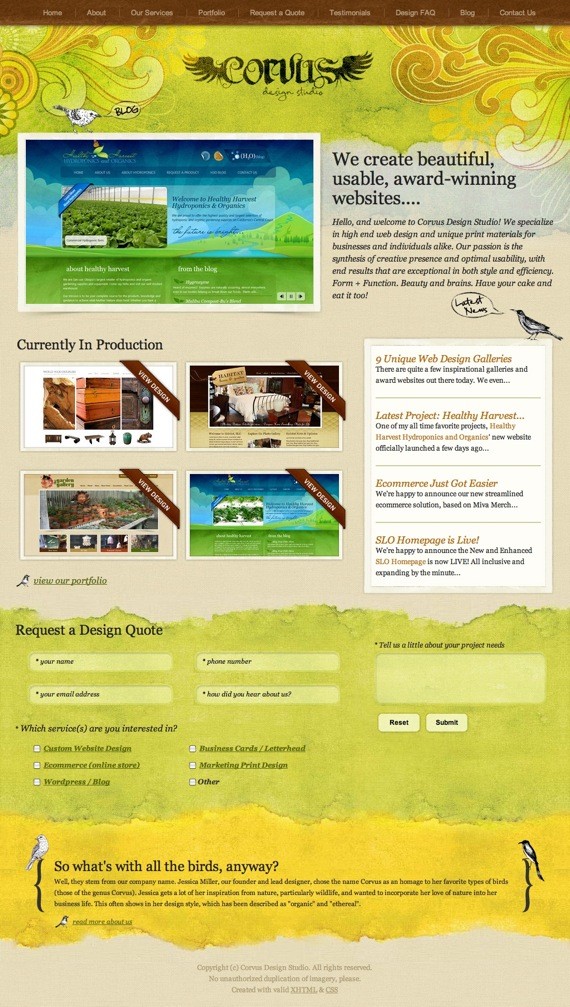
Corvus Art
The Foggy Google
The Cowboy Star
North Point Springfield
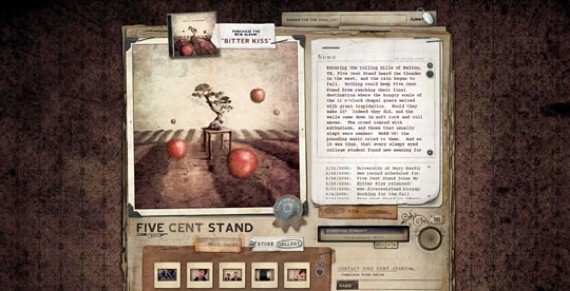
fivecentstand.com
Grunge
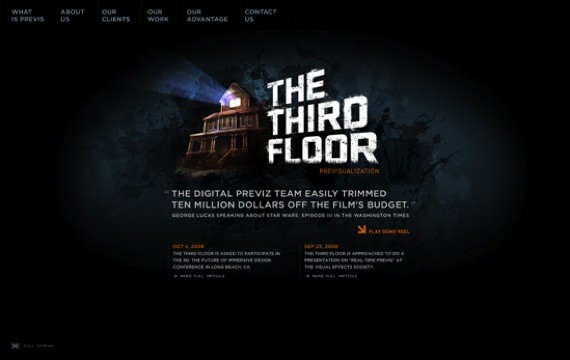
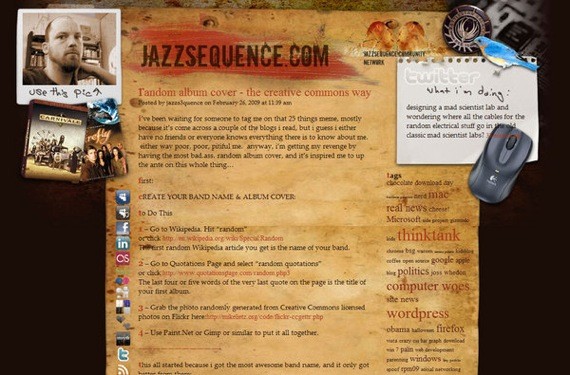
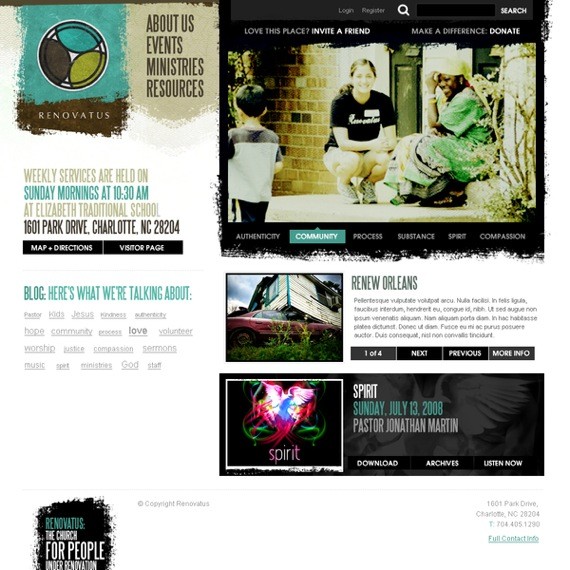
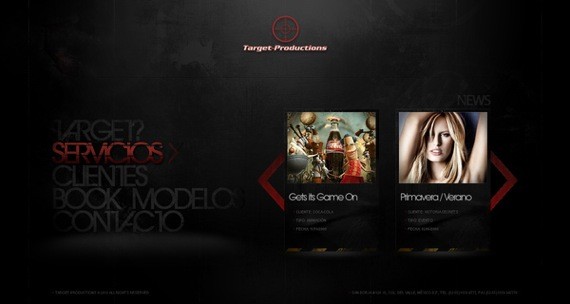
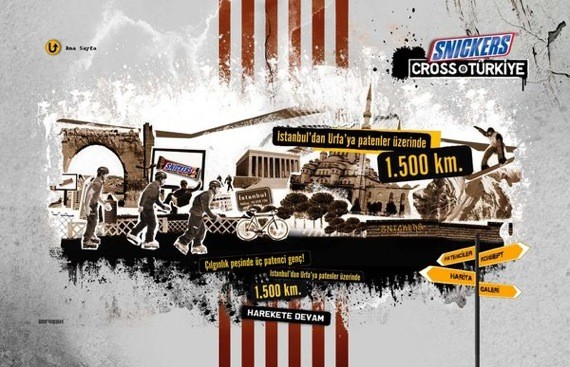
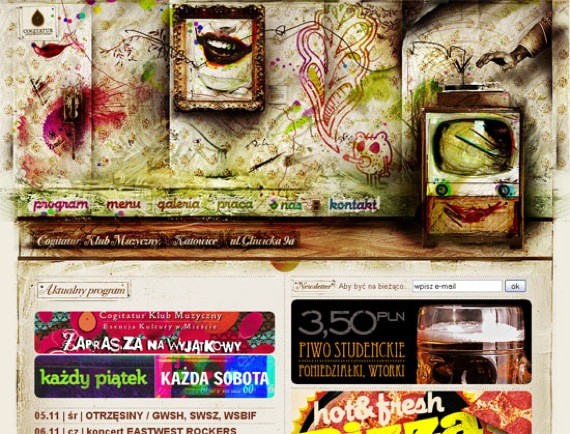
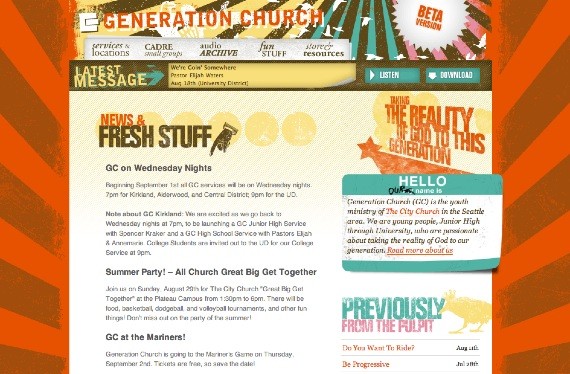
To avoid the “Web 2.0” style, web designers use grunge texture to gives their design a less uniform, less structured, more organic look and feel. It doesn’t necessarily stand for dirty, though it’s easily recognized by the gritty texture, uneven/torn edges, worn, faded and aged graphic elements. This texture is best to use on any extreme sport, rock band, or any web design whose target is young people.
The Third Floor
Jazz Sequence
Renovatus
Target Productions
Snickers Online Campaign
Cogitatur
Generation Church
Elegant
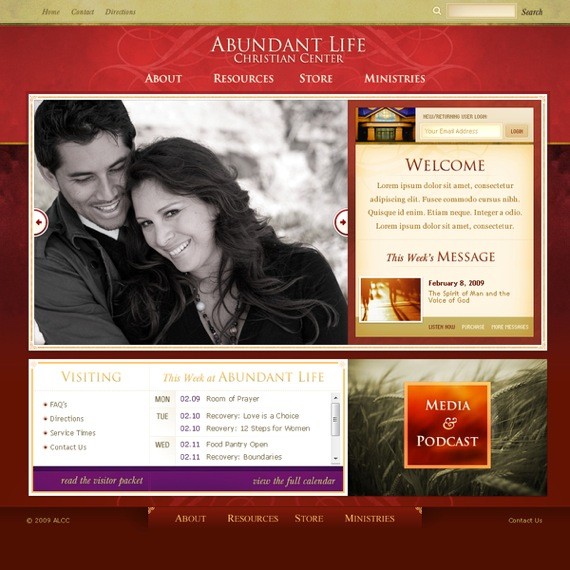
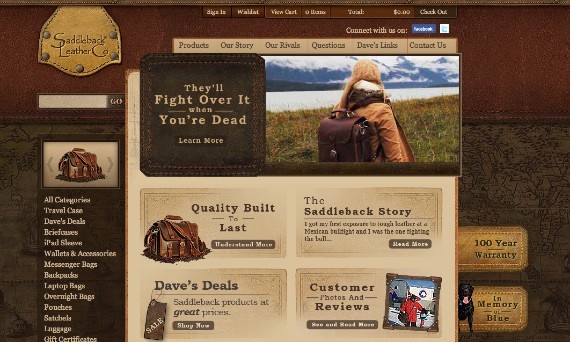
If you’re planning to create an elegant look for a web design, using a texture can be an alternative to make it more appealing. Though, you have to be selective in choosing the texture. Subtle textures work best for this type of look, although sometimes you can also use leather, wood, or even fabric texture.
Marcus James Wine
Abundant Life Christian Center
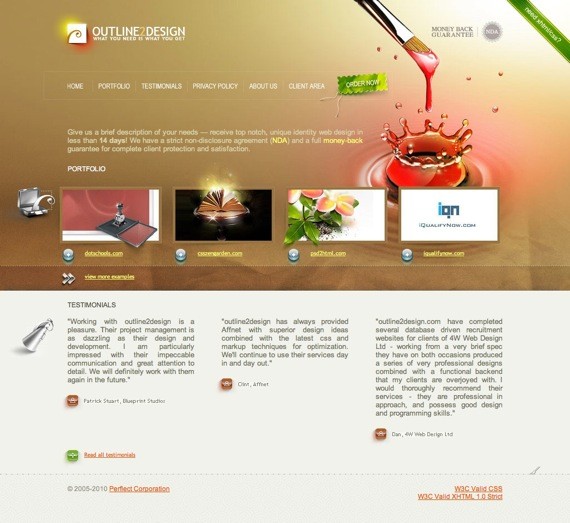
Outline to Design
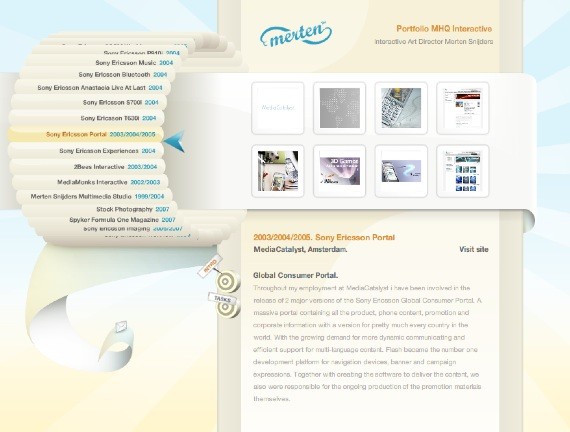
Merten Snijders, Mhq Interactive 2007
Sarahlongnecker.com
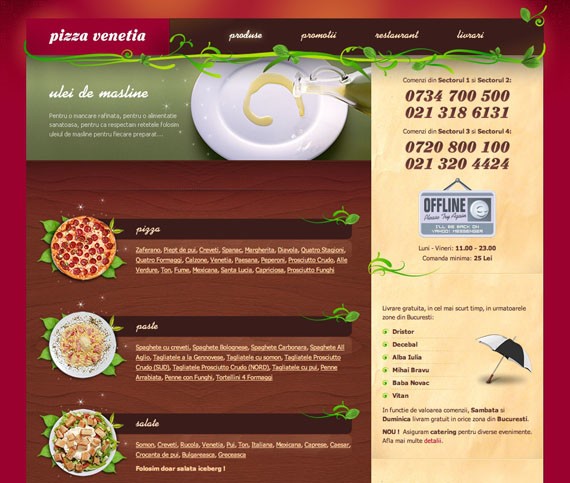
Pizza Venetia
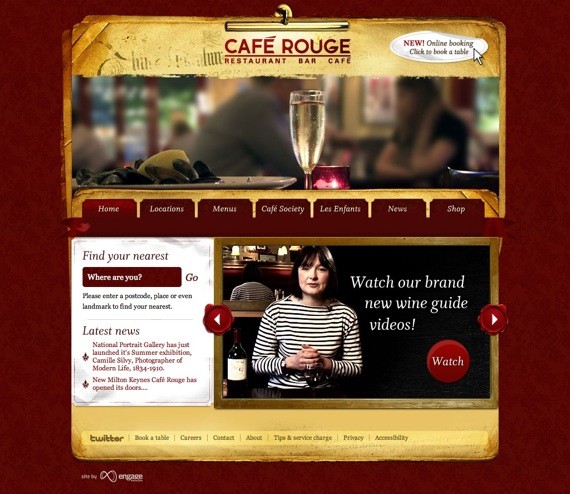
Café Rouge
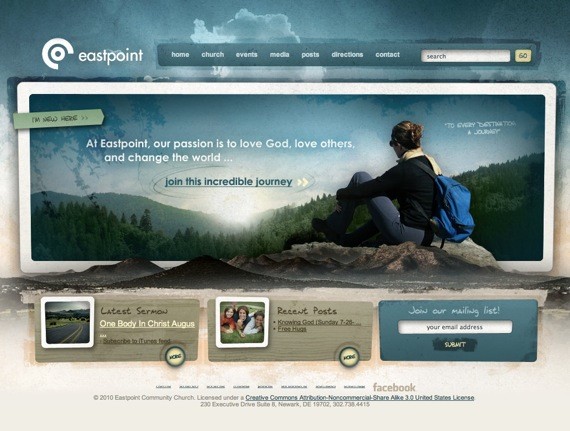
East Point
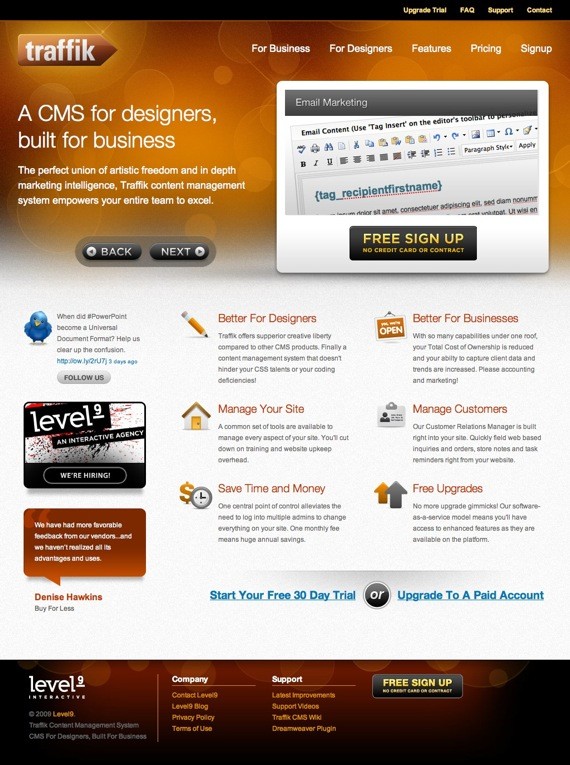
Traffik
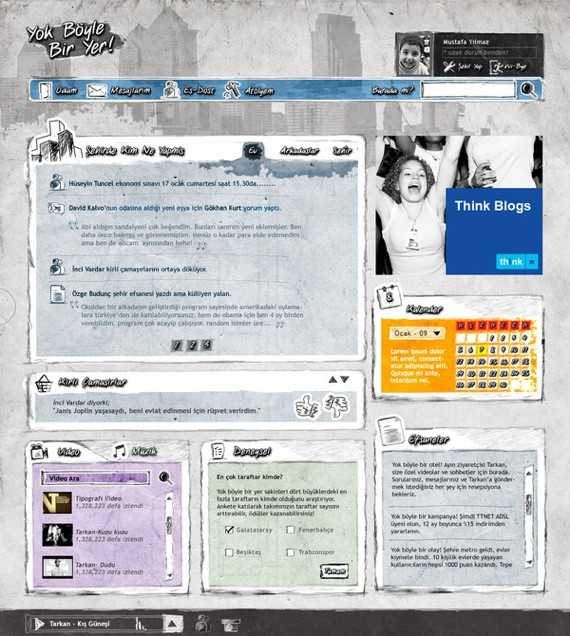
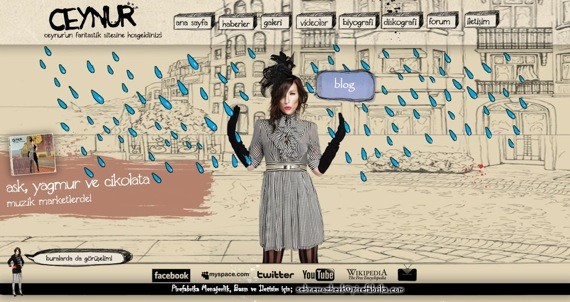
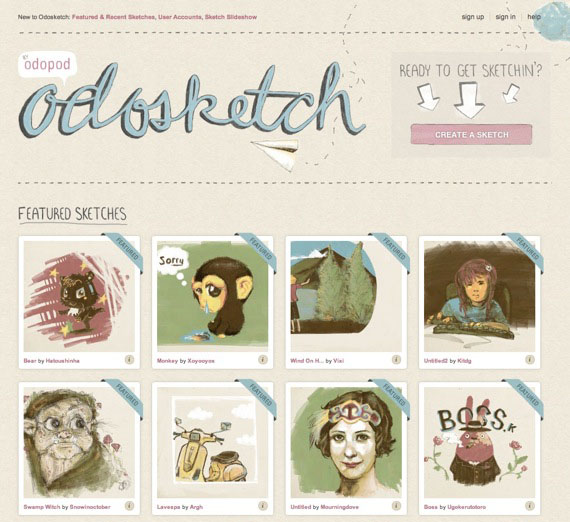
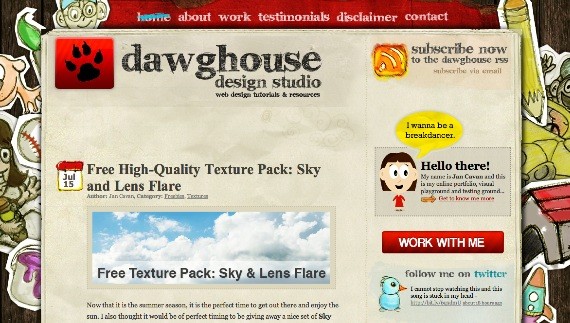
Doodle
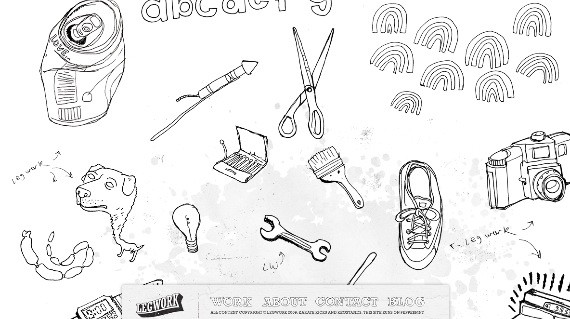
Doodle look is another alternative for your web design. Most graphic designer and illustrator will prefer to use this look in order to blend their portfolio into the web design. Although sometimes it creates the childish look, but for the creatives like illustrator it’s smart and unique.
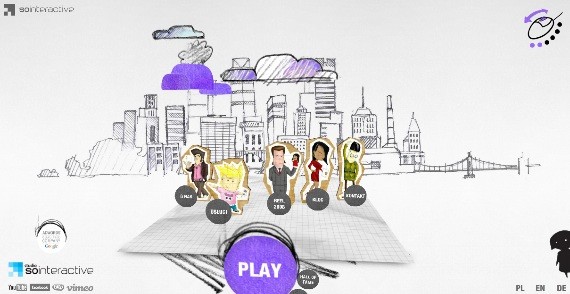
So Interactive
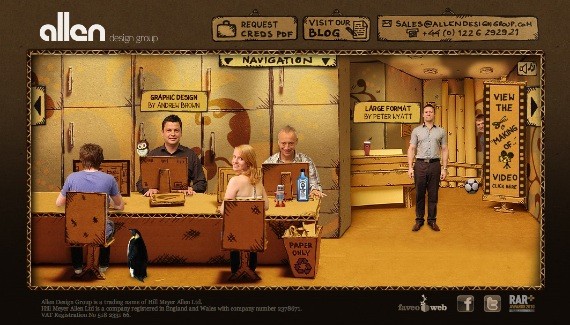
Allen Design Group
Yok Boyle Bir Yer
Ceynur
Odosketch
Dawghouse Design Studio
Legwork Studio
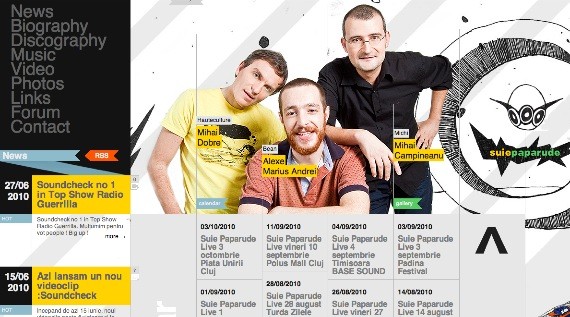
Suiepaparude
Miscellaneous
In some case, one type of look may not be enough. There are no limit in web design. So be creative, mix several types of look by using textures for the design.
Grunge Retro
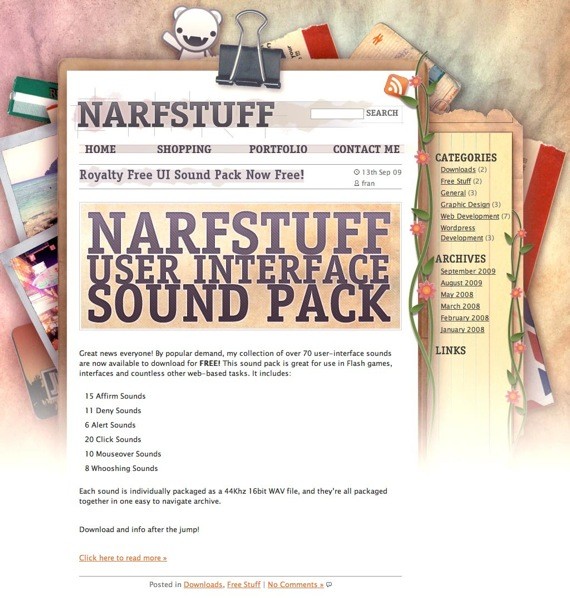
NarStuff
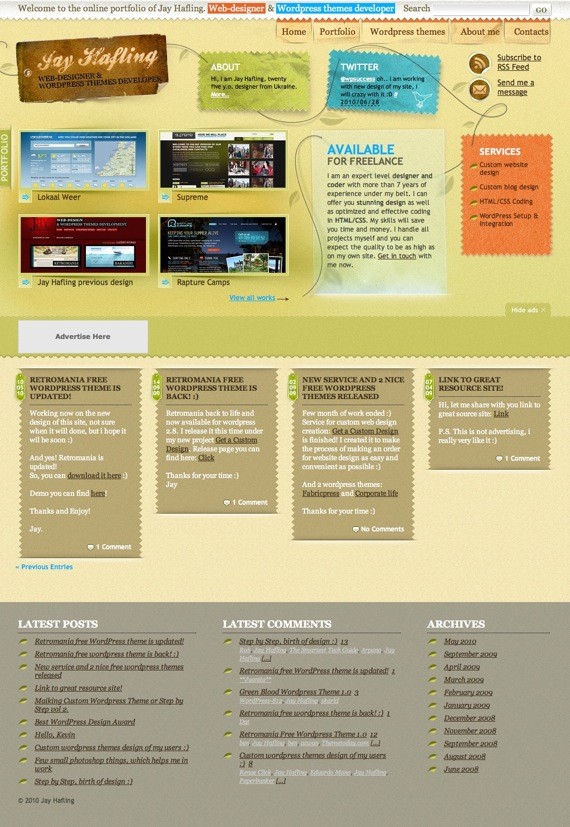
Jay Hafling
Allen Solly
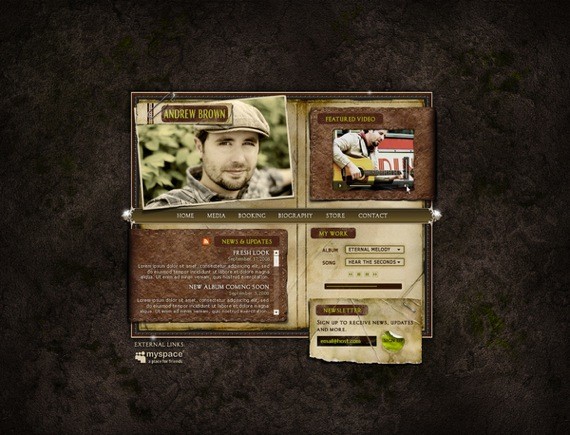
Andrew Brown
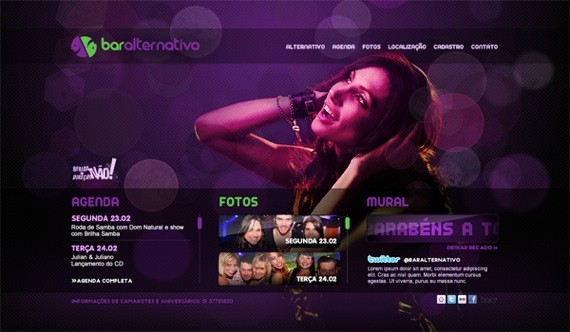
Bar Alternativo
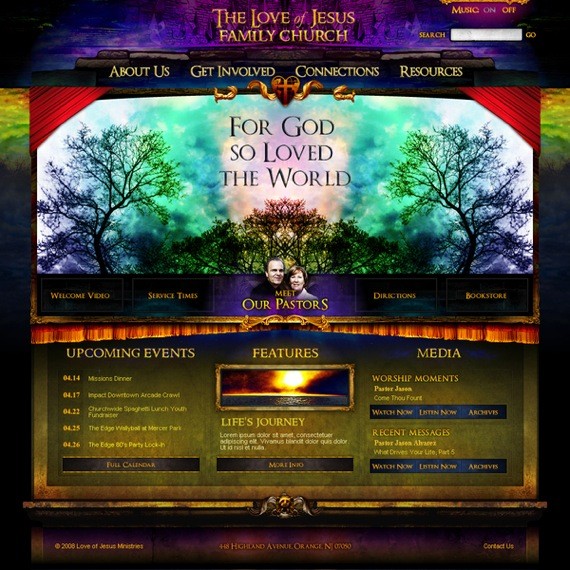
Love of Jesus Family Church
Reskinned Blog
Whatever the type of texture you choose to use on your web design project, make sure it delivers the right look and feel based on your design concept. Let us know what type of texture do you use the most for your web design project or any thoughts about the topic in our comment section.
While we are talking about patterns and textures, we have to include this awesome tutorial. You just have to check it out.
Create a Flash-like Color and Pattern Morphing effect with jQuery
Today you will learn, how you can create a Flash-like effect with only using a few lines of jQuery and a transparent PNG as mask. Not only will you be able to dynamically change the color of the logo, but also add patterns as you wish and even animate them later with a few lines of code. With this technique you will also be able to add transition effects and control any single part of the colors, patterns and animations.
Introduction and Demonstration
You can take a look to the finished Demonstration by clicking here. As you see, you will be able to adjust every single bit of the color, transparency, pattern and even the animation itself.
If you want to follow along, you can download the finished project files here (zip archive).
This technique generally does not require any jQuery at all – but we are using it, to make nice transitions and to be able to adjust the color, pattern and animation by a few sliders.
Step 1: Preparing the Mask and Pattern Images
The Key-PNG for this Effect:
First you have to create a PNG-24 (24bit, so the alpha-channel gets saved too) similar to this one:

As you see, the transparency is not the outside of the logo. It is inside of it, where you want to change the color, apply the gradients, add patterns and animate them. The background should be exactly the same as in the container, in which the logo is going to be. You can either use a single color or whatever else you want to. Just take care if your background has a pattern so the transition is seamless to your main background-pattern.
The Pattern-PNG for the Animation Effect:
The next image we will need is the one with the gradient and/or pattern. The one I will use looks like this:
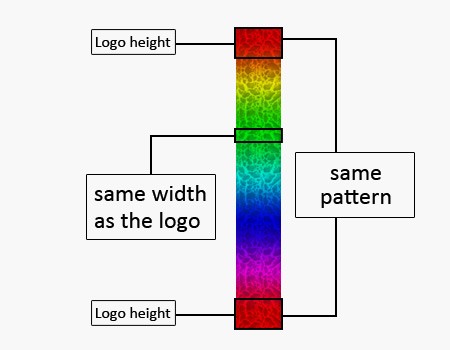
The dimensions of my pattern are 450 x 3000 pixel. The width should be exactly the same as the PNG-mask. The height does not matter. The higher, the better. Also make sure to remember the size. We will need it later in our script to adjust the animation.
Step 2: Arranging the Folders and the XHTML Structure
Before we start creating our needed files, we first create our folder structure again. It should look something like this again:

Our index.html, which will be created at the root of this structure will need following wrappers around the PNG-mask:
<div id="wrapper">
   <div id="color"></div>
   <div id="pattern"></div>
   <div id="logobox"></div>
</div>
As you see here, we have 3 different wrappers for each element. The first one will contain only the color. The second one only the pattern. And the last one will only contain the PNG-mask, which also will be the topmost element.
Why three wrappers???
Maybe you ask yourself now, why we need 3 separate wrappers for each element, if we can do the same with only one. This is why: With 3 separate wrappers, we will be able to adjust different transparencies for every used element, without worrying about loosing opacity on the pattern or the logo itself.
For the sliders we will use the latest jQuery UI again – so you don’t have to worry too much about the structure there. Just make sure they have all the same class and different ID’s.
My Slider structure looks like this:
<!-- color sliders -->
<div id="red" class="slider"></div>
<div id="green" class="slider"></div>
<div id="blue" class="slider"></div>
<div id="alpha1" class="slider"></div>

<!-- pattern sliders -->
<div id="alpha2" class="slider"></div>
<div id="speed" class="slider"></div>
For the buttons I’m using ordinary a-tags – Just give them all the same class and different ID’s again, so you can style them and bind different functions to them. We will later escape the default link-behavior by returning “false” in the script.
Scripts and styles in the header:
<link rel="stylesheet" href="http://ajax.googleapis.com/ajax/libs/jqueryui/1.7.2/themes/black-tie/jquery-ui.css" type="text/css" media="all" />

<link rel="stylesheet" href="css/style.css" type="text/css" media="all" />

<script type="text/javascript" src="http://ajax.googleapis.com/ajax/libs/jquery/1.4.0/jquery.min.js"></script>

<script type="text/javascript" src="js/jquery-ui-1.8rc3.custom.min.js"></script>

<script type="text/javascript" src="js/script.js"></script>
For saving bandwidth, we will link to the Google files again. Unfortunately the latest jQuery UI (version 1.8, release candidate 3) is not hosted there yet, so you have to host in on your own server. You can customize the download yourself here. You will only need the UI Core and the Slider Widget.
I cannot use the latest stable release (version 1.7.2) because there is a small “bug”, regarding the animation of the sliders, when changing the values programmatically. You can take a look at the bug-tracker ticket here. However, it is resolved in the latest release candidate, so I will not go further into the changes now.
Of course you can use the jQuery UI ThemeRoller to create your own slider-styles.
This time I will skip the CSS part completely because there is nothing special to take care of. The only thing you maybe want to add is classes for pattern-only settings and animation-only settings, so we can hide them later in our script by only using the class names as selector.
Step 3: Writing Some JavaScript Functions
The first thing we have to do is to create document.ready function, so the scripts start, as soon as the DOM is loaded and before the page contents are loaded.
$(function(){
   // put all your jQuery goodness in here.
});
Now we will setup a few variables at first:
// color container
var color = $("#color");

// pattern  container
var pattern = $("#pattern");

//  animation start/stop button
var startstop = $("#startstop");

// show/hide button
var showhide = $("#showhide");

// random-color button
var randomcolors = $("#randomcolors");

// default animation speed (5ms to 100ms)
var speed = 50;

// starting position of  the pattern
var  curPos = 0;

//  reset-position
var resetPos = -(3000-117);
The last variable defines when our pattern hits the end, so we can start from the beginning again – it will be for the animation later. 3000 is the height of our pattern image and 117 is the height of our logo.
Don’t forget to put a minus in front of this value. The pattern will move up in its container with the CSS background-position animated.
Converting the slider-div’s to the jQuery UI sliders:
// setting up the jQuery UI sliders

$("#red, #green, #blue").slider({ animate:true, range:"min", max:255, slide:colorChanger, change:colorChanger });

$("#red").slider("value", 52);
$("#green").slider("value", 174);
$("#blue").slider("value", 203);

$("#alpha1").slider({ animate:true,  range:"min", max:100, value:100, slide:alphaChanger1, change:alphaChanger1 });

$("#alpha2").slider({ animate:true, range:"min", max:100, value:100, slide:alphaChanger2, change:alphaChanger2 });

$("#speed").slider({ animate:true, range:"min", min:5, max:100, value:50, slide:speedChange, change:speedChange });
This is everything you need, to “install” the sliders and setup the starting-values and behaviors.
I will go true all options, so you know what you are doing here:
- animate:true: Smoothly scroll the handle of the sliders to the position where the user clicked or to the value of our random function. You can also also use one three predefined strings (“slow”, “normal”, “fast”) or the number of milliseconds to run the animation (e.g. 500).
- range:”min”: This is optional – I’m using this, so I can fill up the slider with a color or a pattern. With “min” the color/pattern will go all the way from left to the position of the handle.
- min:5: The minimum value of the slider (used only on the animation-speed slider).
- max:255: The maximum value of the slider.
- value:50: Setting the starting-value of the slider
- slide/change: Those two are events of the slider. They are triggered when the user slides or changes the values. We are calling our functions there which will be created in the next step.
If you need more information about the options and events we are using, you can take a look at the documentation here.
Now everything is ready to create our main functions.
Converting RGB to HEX
// RGB to HEX converter (with 3 arguments)
function rgbToHex(r,g,b){

   var hex = [
      // converting strings to hex (16)
      r.toString(16),
      g.toString(16),
      b.toString(16)
   ];

   // get all 3 values of the array
   $.each(hex, function(nr, val){

      // make sure they are not empty
      if (val.length == 1){

         // add leading zero
         hex[nr] = "0" + val;
      }
   });

   // returns a valid hexadecimal  number
   return hex.join("").toUpperCase();
}
With this function, we will convert the values of the red, green and blue sliders to a valid hexadecimal for using it in CSS.
For making this work, we need to pass 3 variables to the function (r,g,b) and convert those strings to hex-code. We do so by using .toString(16).
We also wrapped them into an array, so we can go through them now by jQuery’s each() loop, passing the index of the array (nr) and the value (val) to the loop.
Last thing we need to to is to join those 3 values and converting them to uppercase.
Background-color Changer:
// changing the colors
function colorChanger(){

   // value of the "red"-slider
   var red = $("#red").slider("value");

   // value of the  "green"-slider
   var green = $("#green").slider("value");

   // value of the "blue"-slider
   var blue = $("#blue").slider("value");

   // converting values to hex
   var hex = rgbToHex(red,green,blue);

   // changing the background-color of  the wrapper
   color.css("background-color", "#" + hex);

}
This function will get all 3 values of our red-, green- and blue-sliders, convert the values to a valid hex-code using the previous function and change the css of our color-container.
That’s all! You should now be able to change the color of your logo. (You have to comment out the alpha and the speed sliders, or you will get a JavaScript error.)
Opacity Changer:
// change the opacity of the color-wrapper
function alphaChanger1(){

   var opacity = $("#alpha1").slider("value") / 100;
   color.css("opacity", opacity );
}

// change the opacity of the pattern-wrapper
function alphaChanger2(){
   var opacity = $("#alpha2").slider("value") / 100;
   pattern.css("opacity", opacity );
}
Those two functions will handle the opacity of the color-wrapper and the pattern-wrapper. Nothing special there. Just make sure to divide your value by 100, so you get a value between 0.00 and 1.00. This step is important because the opacity attribute does not accept 3 digits as value. So a 50% opacity will be 0.50.
You can also combine those two functions by passing the correct container returning the right value. I skipped this step. It’s quick and dirty – but it works! :)
Function for the Animation:
// pattern animation
function patternScroller(){

   // substracting 1 with  every call
   curPos--;

   // if it hits  our reset-position, back to 0
   if (curPos == resetPos){ curPos = 0; }
   pattern.css("background-position", "0 " + curPos + "px");
}
Every time this function gets called, we will subtract 1 from our current position variable (curPos). If it hits the value of our reset position (resetPos), we will set it back to 0. The last step there is to change the vertical position of the background from our pattern-container.
Speed Changer:
// animation speed changer
function speedChange(){

   // get the current value of the  speed-slider
   speed = $("#speed").slider("value");

   // clear interval,  if there is any
   clearInterval(initScroll);

   // set a new interval with the current speed
   initScroll = setInterval(patternScroller, speed);
}
This function will change the speed of our animation. First we need to get the current value of our speed-slider. After this we have to clear any previous interval (if there is any). Last but not least we are creating a new interval. This will call our previous function (patternScroller) every x milliseconds. The x stands for the value of our speed slider.
Random Color and Alpha function:
// random color function
function randomColors(){
   $("#red").slider("value", Math.floor(Math.random()*256), true);
   $("#green").slider("value", Math.floor(Math.random()*256), true);
   $("#blue").slider("value", Math.floor(Math.random()*256), true);
   $("#alpha1").slider("value", Math.floor(Math.random()*101), true);
}
This function will change the values of the red, green, blue and alpha1 sliders randomly when called. It does so by using JavaScripts Math.random() function. To make sure the returned value is not 0, just add 1 to the maximum value. To make it a Integer we wrapped returned value into Math.floor(), so it gets rounded downwards to the nearest integer.
This function is now ready to be bound to button:
// random colors button
randomcolors.click(function(){

   // if button has  no "random" class
   if (!$(this).hasClass("random")){

      // add it
      $(this).addClass("random");

      // change the button text
      $(this).text("random-colors & alpha: ON");

      // call the  random function once
      randomColors();

      // set a intervall with the random function
      randomizer = setInterval(randomColors, 2000);

   } else {

      // remove the class
      $(this).removeClass("random");

      // change the button text
      $(this).text("random-colors & alpha: OFF");

      // clear the  interval
      clearInterval(randomizer);
   }

   // change the  default link-behavior
   return false;
});
We will check if the random-function is already running by adding and removing a class (“random”) to the button.
The important parts of this whole function is setting/clearing the interval. The interval will get called every 2 seconds (2000 milliseconds) and the first call is after 2 seconds, so we are manually calling it the first time. By returning false, we make sure the override the default behavior of a link.
Show and Hide the Pattern container:
// show and hide the pattern
showhide.click(function(){

   // if button has no "visible"  class
   if (!pattern.hasClass("visible")){

      // add it
      pattern.addClass("visible");

      // change the text
      $(this).text("hide pattern");

      // fade in the pattern-container
      pattern.stop().fadeTo(1000, 1);

      // fade in all elements with the class "forpattern"
      $(".forpattern").stop().fadeTo(800,  1);

   } else {

      // remove the  class
      pattern.removeClass("visible");

      // change the button text
      $(this).text("show pattern");

      // fade out the pattern-container
      pattern.stop().fadeTo(800,  0);

      // fade out all elements with  the class "forpattern"
      $(".forpattern").stop().fadeTo(800, 0);
   }

   // change the default link-behavior
   return false;
});
Again we are checking if the pattern is hidden or not by adding and removing a class to the button (“visible”). Nothing complicated in here – by now, everything should be clear. Just to make sure: The second fade-effect is used to show/hide all elements which have the class “forpattern”.
Start and Stop the Animation:
// start and stop the animation
startstop.click(function(){

   // if button has no  "scrolling" class
   if (!pattern.hasClass("scrolling")){

      // add it
      pattern.addClass("scrolling");

      // change the text
      $(this).text("stop animation");

      // start a new intervall with current speed-slider value
      initScroll = setInterval(patternScroller,  speed);

      // fade in  all elements with the "foranimation" class
      $(".foranimation").stop().fadeTo(800, 1);

   } else {

      // remove the class
      pattern.removeClass("scrolling");

      // change the button text
      $(this).text("start  animation");

      // clear the interval again
      clearInterval(initScroll);

      // fade out all elements with the "foranimation" class
      $(".foranimation").stop().fadeTo(800,  0);
   }

   // change the  default link-behavior
   return false;
});
This is the last button-function we need for this project.
It will start and stop the animation of our pattern. To distinguish if the animation is already started or not, we are again adding and removing a class (“scrolling”). If the button does not have this class yet we are adding it, initiate an interval with the current value of our “speed” variable. If it has this class, we remove it and clear this interval again. For a little bit eye candy we are again fading all elements with the class “foranimation” in and out.
That’s All Folks!
You should now have a Flash-like color and pattern morphing logo, using only a transparent PNG as mask and a few jQuery functions. You can take a look at the demo by clicking here or download all files by clicking here.
If you have any questions or need help with any of the steps, feel free to ask them in the comments!
Happy coding!
To finish our article, we are going to showcase some of great patterns and background on Twitter. Hopefully you will get the needed inspiration for your next project.
Inspirational Showcase of 50 Twitter Backgrounds
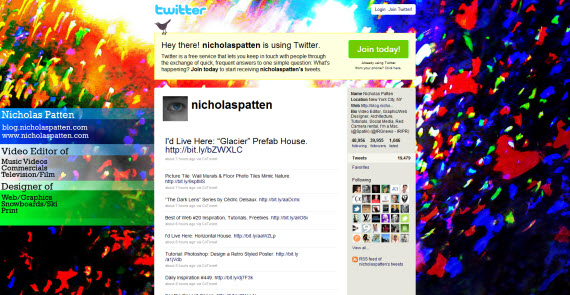
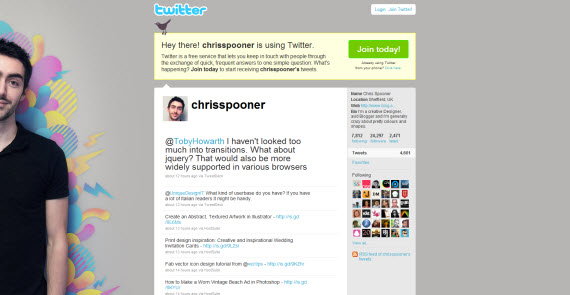
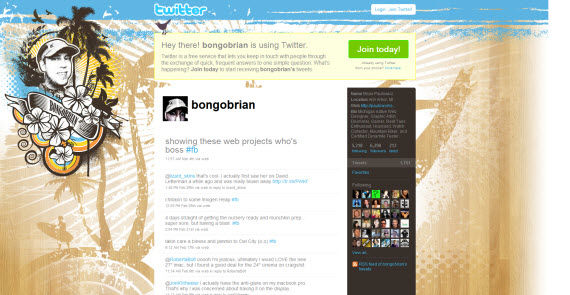
 Twitter background design is one of the most important things, you can change in your account to attract new followers. We only can change little things in Twitter so why we don’t put there the best we can? Let’s change our background right now, but before we do that – time for you to get inspired!
I hand picked those 50 Twitter backgrounds, while I was browsing through like 200-300 twitter pages – these all were the ones which caught my attention. Interesting to notice, not all of favorites are really colorful, but even subtle, clean and elegant but still stood out. In my opinion the best case is to create what suits you in the meantime thinking about usability and readability – but light designs with few colors included to make design shine seems to be the best case! What’s your case?
1. @nicholaspatten
2. @chrisspooner
3. @bongobrian
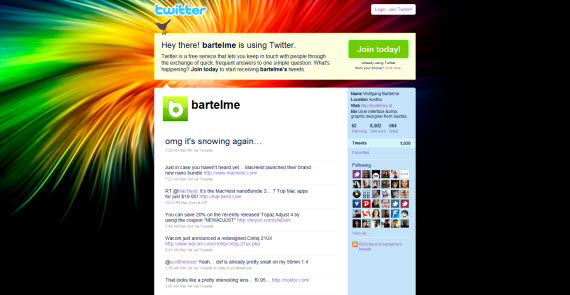
4. @bartelme
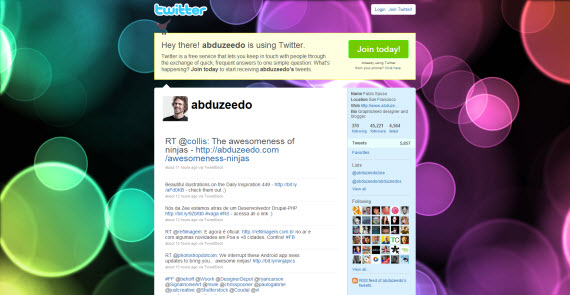
5. @abduzeedo
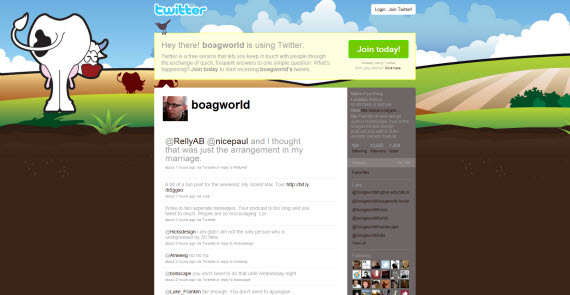
6. @boagworld
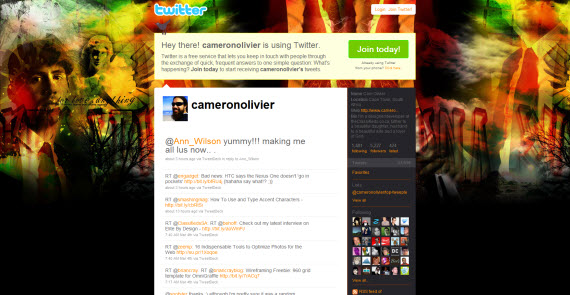
7. @cameronolivier
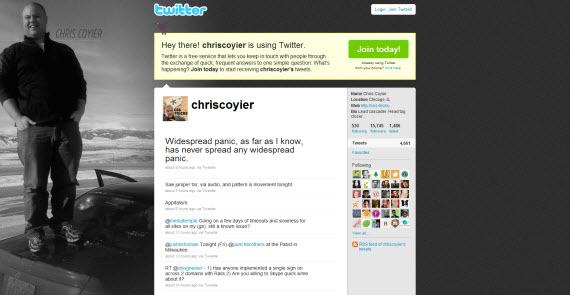
8. @chriscoyier
9. @DesignerDepot
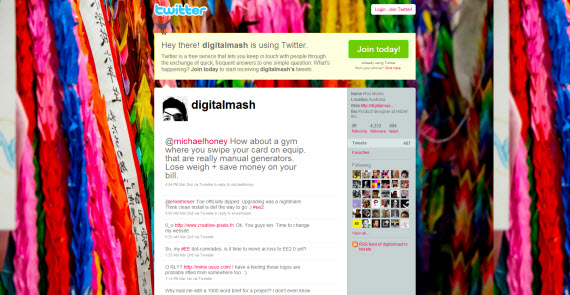
10. @digitalmash
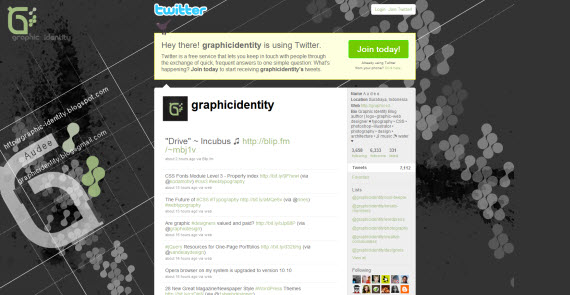
11. @graphicidentity
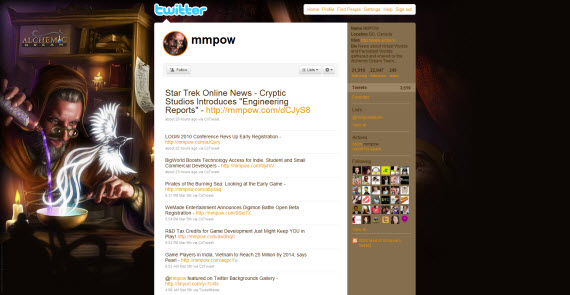
12. @mmpow
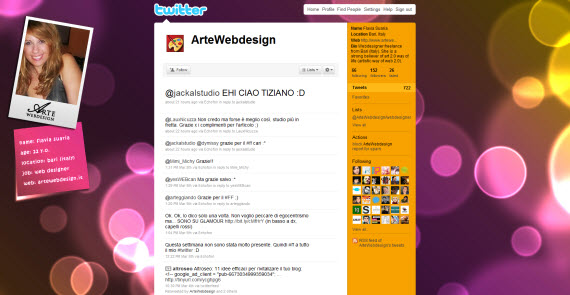
13. @ArteWebdesign
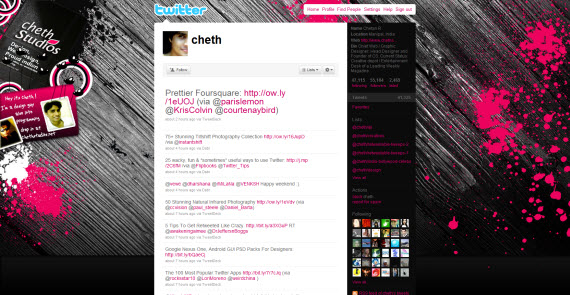
14. @cheth
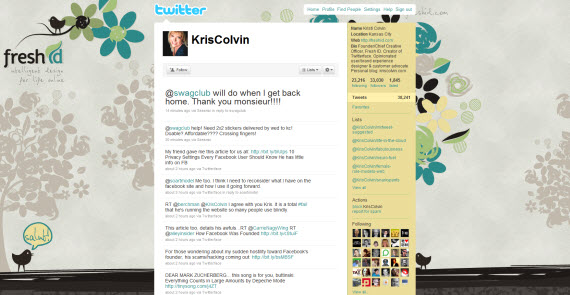
15. @KrisColvin
16. @marcelsantilli
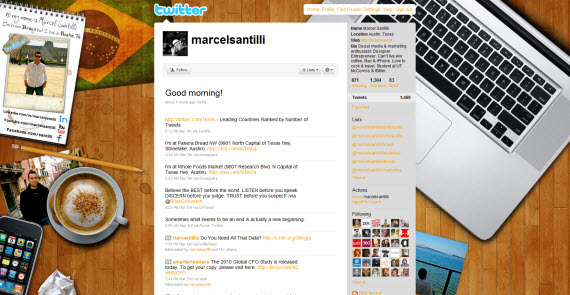
17. @Ubikwitusrex
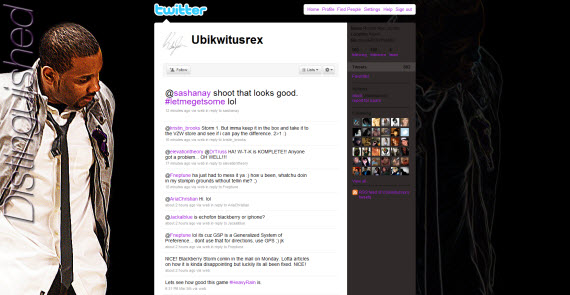
18. @rodneireiz
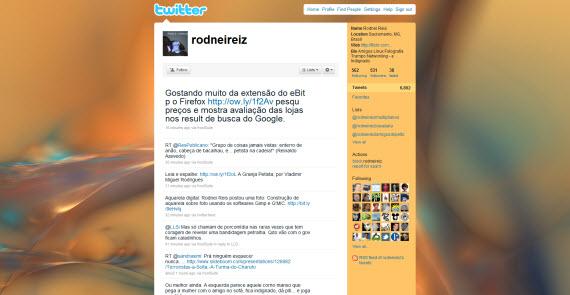
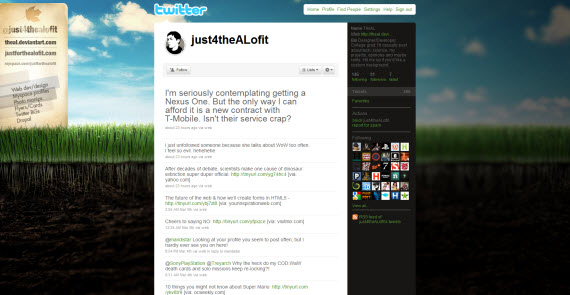
19. @just4theALofit
20. @Chryseiss
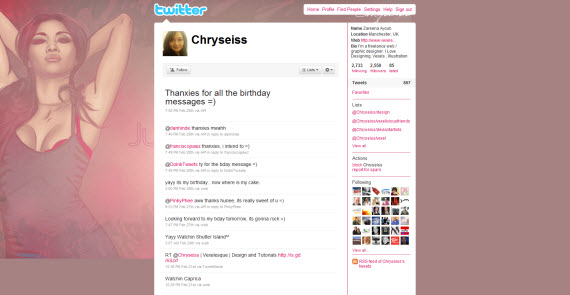
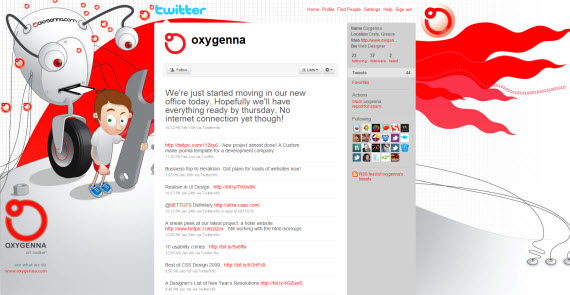
21. @oxygenna
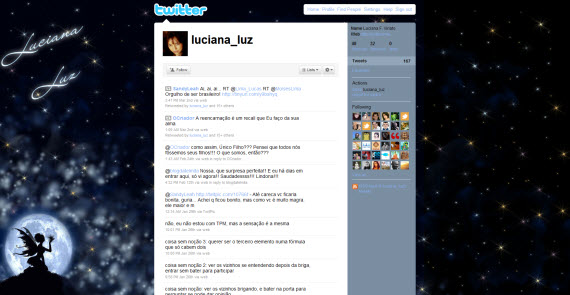
22. @luciana_luz
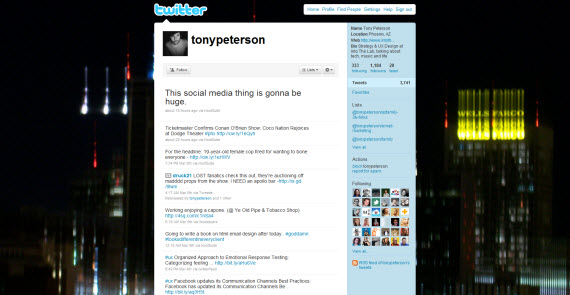
23. @tonypeterson
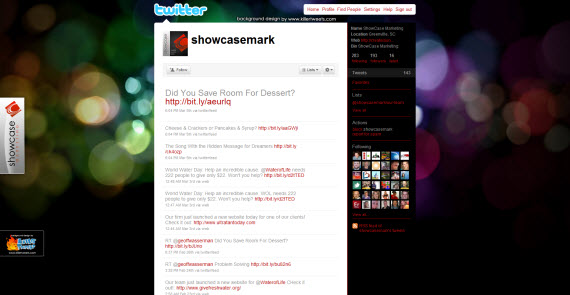
24. @showcasemark
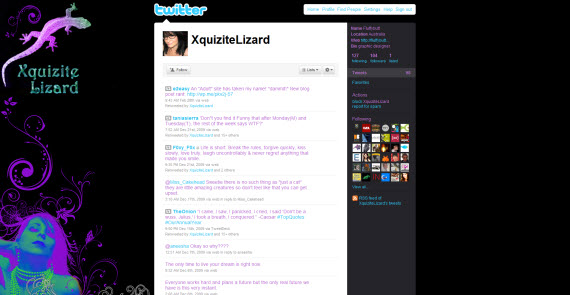
25. @XquiziteLizard
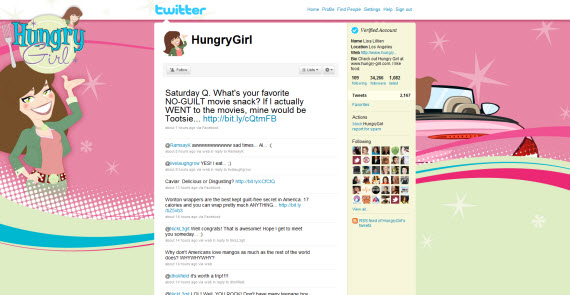
26. @HungryGirl
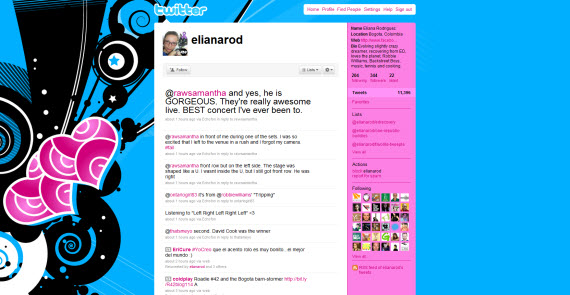
27. @elianarod
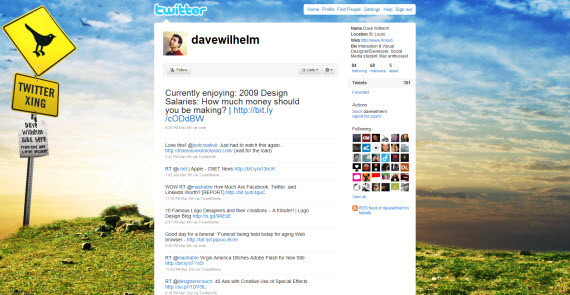
28. @davewilhelm
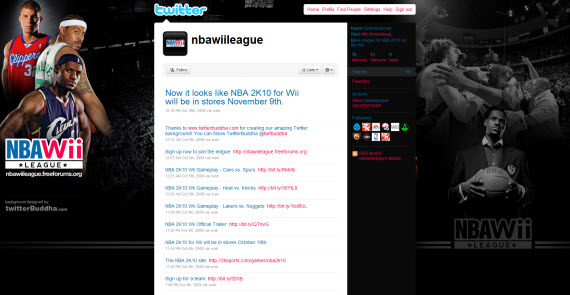
29. @nbawiileague
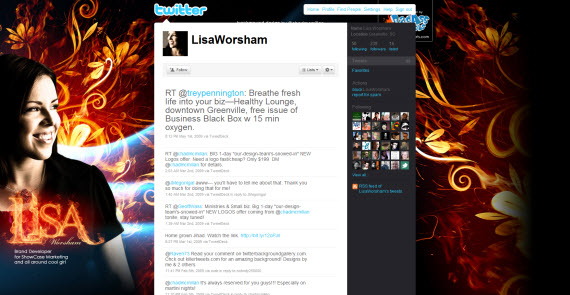
30. @LisaWorsham
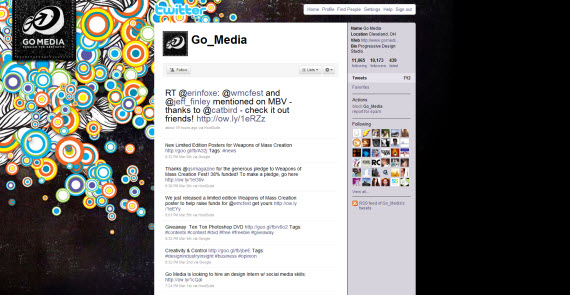
31. @Go_Media
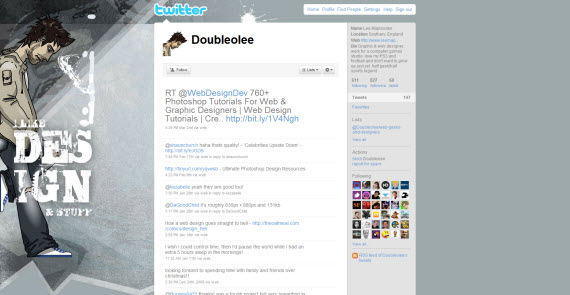
32. @Doubleolee
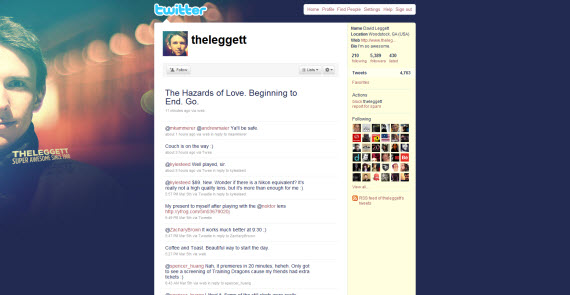
33. @theleggett
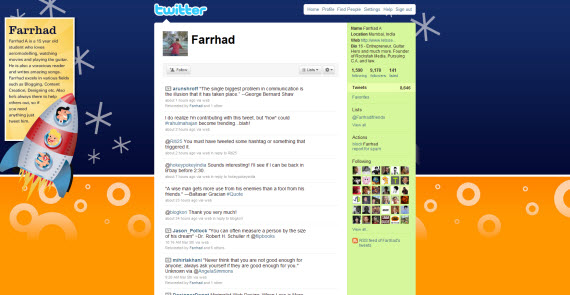
34. @Farrhad
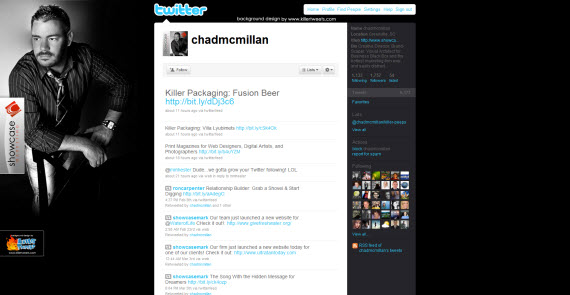
35. @chadmcmillan
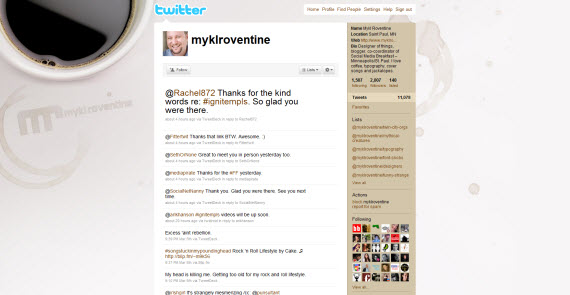
36. @myklroventine
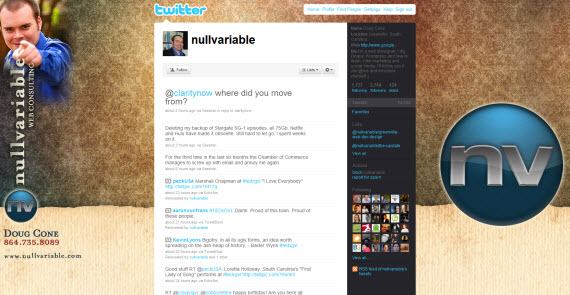
37. @nullvariable
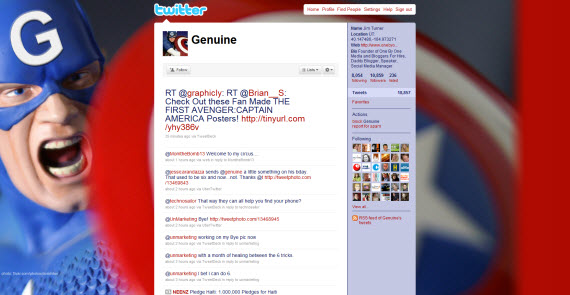
38. @Genuine
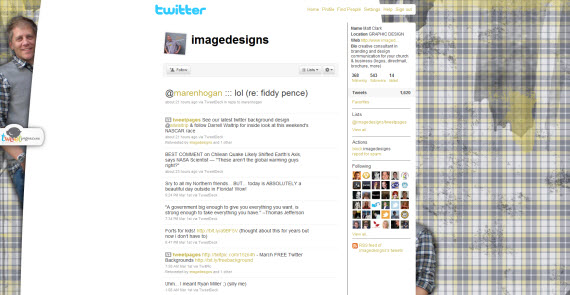
39. @imagedesigns
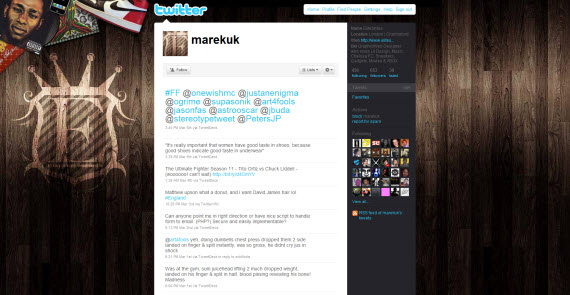
40. @marekuk
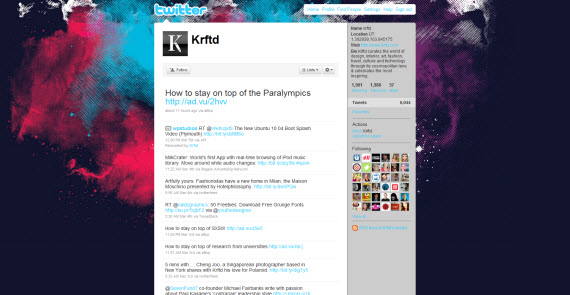
41. @Krftd
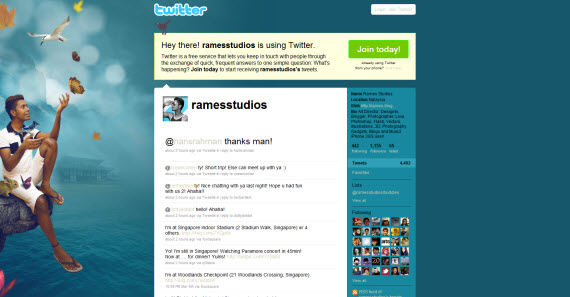
42. @ramesstudios
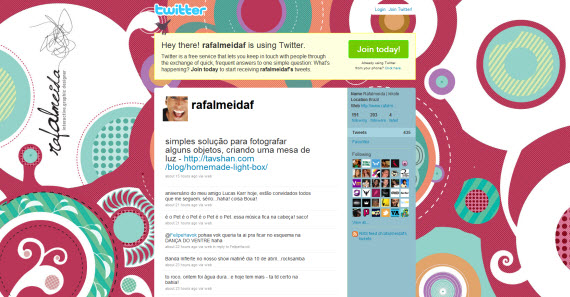
43. @rafalmeidaf
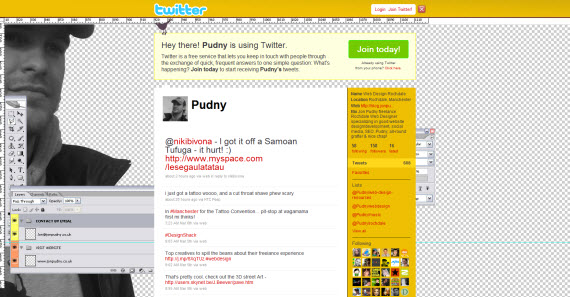
44. Pudny
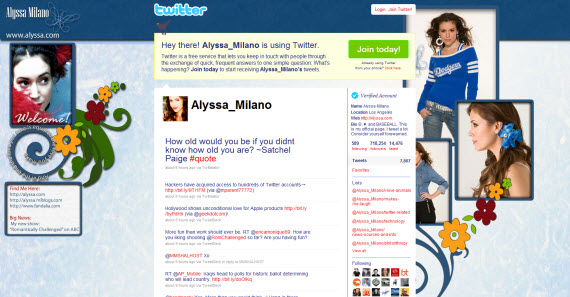
45. @Alyssa_Milano
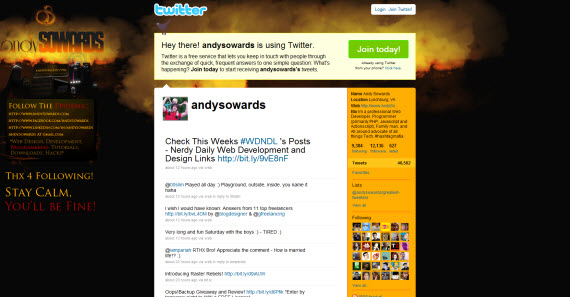
46. @andysowards
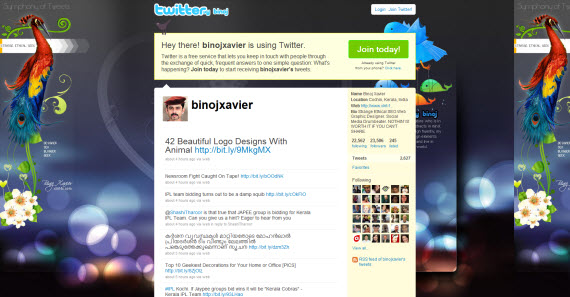
47. @binojxavier
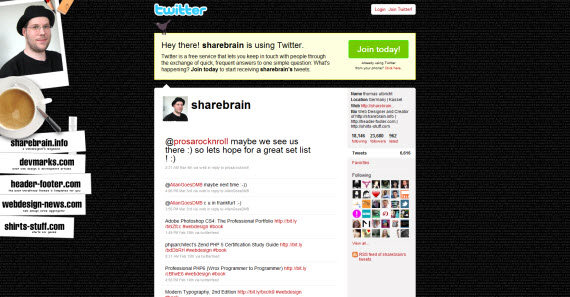
48. @sharebrain
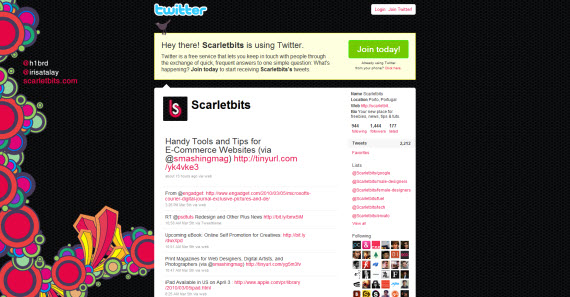
49. @Scarletbits
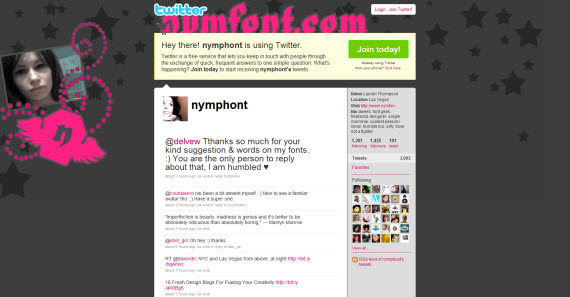
50. @nymphont
If your exclusive and unique background is not in this list, then feel free to share it with us in comments section! That’s all from us. Until next time, good luck and have an amazing day.
This post may contain affiliate links. See our disclosure about affiliate links here.

