A lot of hard work goes into building a website. And a site built with WordPress presents its own unique challenges. Not only do you have to ensure that your theme is pixel-perfect, you also need to make sure that you’re using the right plugins and coding practices.
Even then, there are still more mountains to climb. Take, for instance, the act of launching your new site. If you used a development environment to build your site (whether a local server or a non-public spot on a web host), some changes need to be made when moving to production.
It’s quite a delicate process – almost like a ballet. There are a number of steps involved, and each one has to be done just right. Otherwise, the whole thing could fall flat.
But not to worry! We have compiled a helpful checklist of things to do before launch. While it’s not exhaustive, it does cover some common items that can be easily forgotten. The goal is to ensure the smoothest transition possible.
1. Update to Production URLs
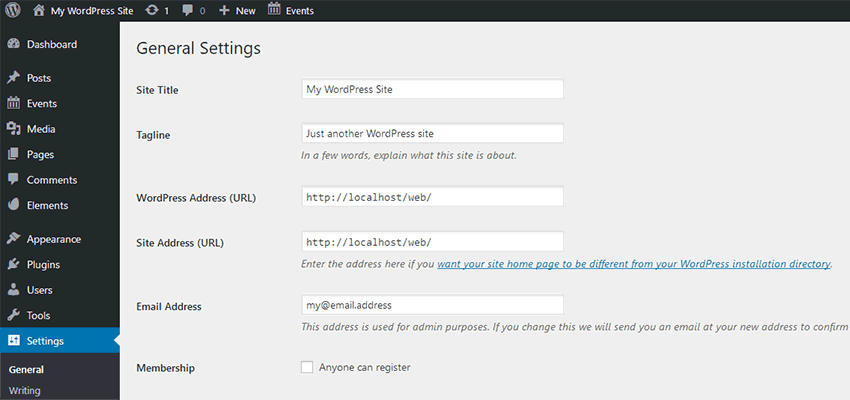
Using a development environment also means that you’re using a temporary URL for your site. Therefore, you’ll want to make sure that you’ve updated to the production URL via Settings > General within WordPress.
However, you may still need to update URLs within your site’ database as well. The settings change alone doesn’t affect hard-coded links within pages, posts, widgets or menus. So, you’ll want to do a search and replace to reflect the new address (just make sure you back up the database first).
The easiest way to do this is via a plugin, such as Velvet Blues Update URLs or Better Search Replace. This is the recommended route, since these plugins can help you avoid changing the wrong thing. Still, be extra careful with this step.
2. Turn on Search Indexing
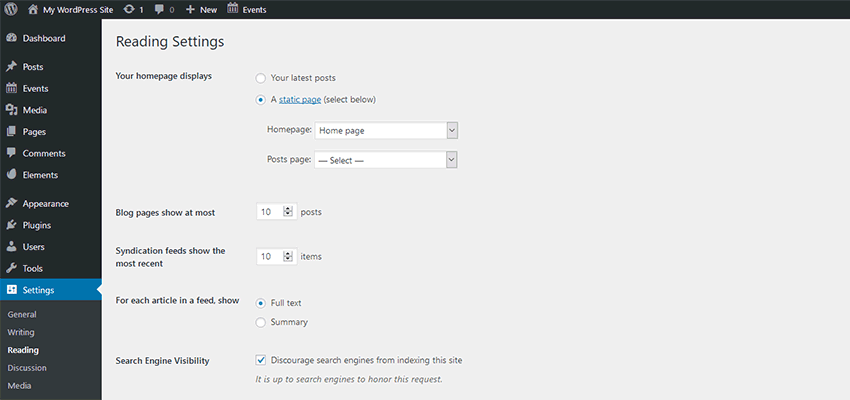
When your development process is being done on a web hosting account, you may decide to block search engines from crawling your WordPress install. This is good practice, as you wouldn’t want to see your development site showing up in search engine results. It looks bad and could even negatively impact the current site’s SEO.
This is easily done in WordPress, by checking the Search Engine Visibility box within Settings > Reading. Yet, it’s easy to overlook after your site has been launched. Some SEO plugins, such as Yoast SEO, will alert you to change the setting. Short of that, it’s always a good idea to double-check.
3. Remove Testing-Related Content and Accounts
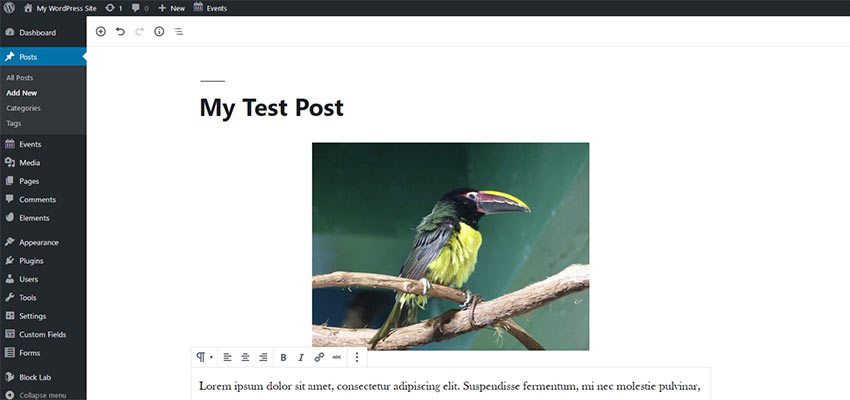
During development, it’s not uncommon to create content and/or user accounts in an effort to test a site’s functionality. Examples of this include placing WooCommerce orders or trying out user permissions on a membership site.
While not necessarily harmful, this type of content can look unprofessional if a user (or search engine) should stumble upon it. Plus, test orders could throw off aggregate sales statistics. Thus, it’s better to just get rid of it all before launch.
Any testing accounts, especially ones with administrator privileges, should also be considered for removal. If you do keep them, make sure to use strong passwords and follow other security best practices.
Bonus: Don’t forget to jettison the ubiquitous “Just another WordPress site” tagline in Settings > General.
Double Bonus: Inspect any forms to make sure they email to the correct recipients, rather than your own account!
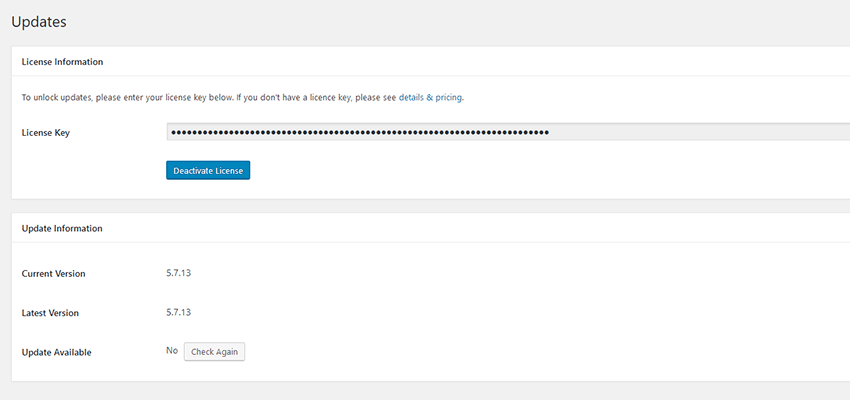
4. Check Commercial Theme and Plugin Licenses
If your site utilizes any commercial software that requires a license key, they may require some extra care before you roll over to production. Some of these themes and plugins are licensed for use on just one domain. Therefore, switching your site to the production URL may result in software that can’t be updated – leading to missed features, bug fixes or security updates.
How you handle this really depends on the software. Sometimes, simply deactivating the license on the development site and then activating it on production does the trick. Other times, you may have to login to an account dashboard on the developer’s website to reassign the license. There are also occasions where you may need to contact the developer directly for help.
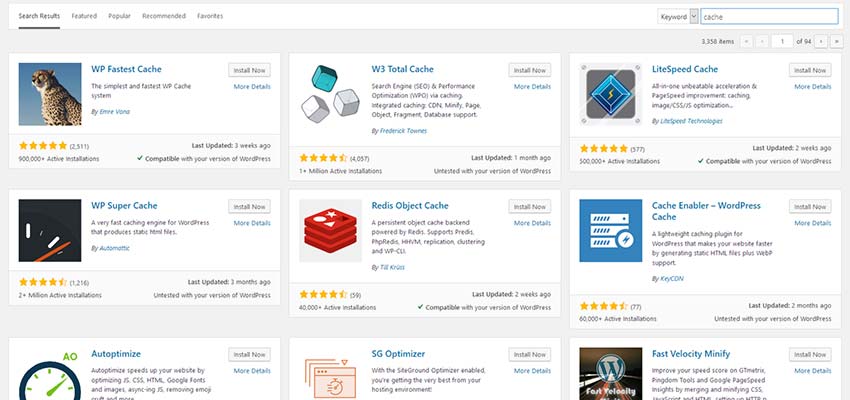
5. Optimize Performance
While site performance should always be a consideration during the build process, there are some aspects that are often saved for production. The installation and setup of a caching plugin, for one, is something that can be done after development. Why? Because, depending on how you go about site development, cache can annoyingly keep changes from appearing immediately.
If that’s the case, then it’s recommended that you do all of the setup and testing just before launch. This provides you with an opportunity to gauge speed and clear up any obvious issues before the public starts hitting the site.
Then, once the site is live, further tests can be done to ensure that everything’s in tip-top shape.
Ready for Launch
Launching a new WordPress site is a big deal – and there are a lot of little details to remember. That’s why it’s important to have a standard process in place when flipping that switch.
Doing so will help you avoid issues that could both confuse users and make you look a bit sheepish. Of course, we’re only human and mistakes will happen. But the more prepared we are, the better the results will be.
This post may contain affiliate links. See our disclosure about affiliate links here.